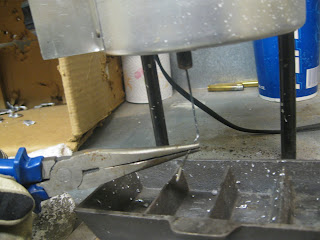
This Article is not meant to be a comprehensive experts guide to bullet casting. It is meant to be a good guide for the beginner who is just getting started. I have been casting lead for about 10 years now. I had an odd job through college that involved casting lead weights for weighted physical fitness training vests. I casted 2.5 lbs. lead bars by ladling molten lead alloy into large four cavity molds. I estimate that I have casted at least 500,000 lbs of lead. Enough to cast 14 million 250 grain 44 mag bullets. It was my experience casting bullets that helped me get the job.
The biggest concern people have when they start to consider casting their own bullets is the potential of getting lead poisoning. I was tested for lead every year I worked casting. I didn’t have any increase in the amount of lead in my body. Lead cannot be absorbed through your skin it must be inhaled in the form of lead dust from grinding it; or, painting with lead based paint. It can be digested form having residue on your hands or putting pieces of it in your mouth. Lead fumes from casting are non-existent because lead doesn’t turn into a vapor until at least four times its melting point which is about 600 degrees. Optimal casting temperature is about 700 degrees. As long as you throughly wash your hands after casting and watch that nobody grabs any pieces of lead and starts sucking on them you should be fine.
Equipment:
There are a lot of good casting equipment companies in the market. The equipment with the best value seems to be made by Lee Precision. I have a Lyman bottom pour furnace that was given to me; but, the Lee Pro 4 20 lbs. Furnace is what I would buy if I didn’t already have one. I prefer the bottom pour furnaces to the the plain pots that you ladle form because you can cast a lot faster.
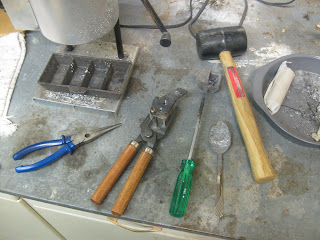
I have always used RCBS bullet molds in the past. I recently decided to give some Lee molds a try because of cost. I have been very impressed with the Lee molds they cast very good bullets. The may not last as long as a RCBS or Lyman mold; but, you can buy three of them for the cost of one RCBS mold and handles.
Bullet Alloys:
The best bullet alloy for general use is recycled wheel weights. The mixture of wheel weight alloy varies; but, it contains enough antimony to work very well with heat treating. To heat treat wheel weight alloy all that is necessary is to drop the bullets you are casting straight into cold water as they fall from the mold.
Bullets that are dropped from a mold and allowed to air cool will test to a bernell hardness of about 12 bhn. This is hard enough for handgun bullets up to about 1200 fps and rifle bullets up to 1400 fps. Water quenched bullets will test to a bernell hardness of about 17-18 bhn and are hard enough for handgun bullets up to 1400 fps with out a gas check and 1800 fps with a gas check. They are good in a rifle to about 1600 fps without a gas check and 2000-2200 fps with a gas check. These are general figures they will vary with bore condition, the type of bullet, and lube used.
Commercial alloys are also available which are a good way to go. They are usually mixed with virgin metals and don’t require a lot of cleaning. Wheel weights can be very dirty and require a lot of cleaning before the alloy can be used in a casting furnace. I usually clean them in a big cast iron pot over a propane burner. I then pour the cleaned alloy into an ingot mold for latter use in my casting furnace. This keeps the furnace clean for the most part.
If you are buying commercial alloy the most popular mix is an alloy of 93% lead, 5% antimony, and 2% tin. This alloy is good enough for bullets at almost any velocity if the proper lube is used and gas checks are installed when the velocity is going to be above 1600 fps. Linotype is also a common alloy. It is to hard for most bullets but it can be used to make scrape lead or wheel weights harder.
The preparation process:
I won’t get into the process of attaining your casting alloy. I will assume that you have attained what you are going to use, cleaned it, and casted it into ingots. To begin casting it is important to find a good well ventilated area with a solid table or counter. I prefer to sit down while I cast so having a table or counter that allows for a chair or stool to be used at it is necessary.
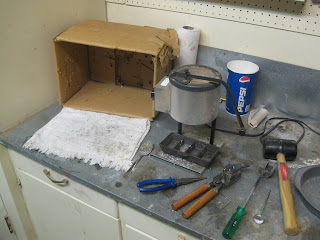
I put the furnace in the middle of my casting area and then a cardboard box off to the left with a towel in front of the box. The box is used to break the sprue on the top of the mold in to and let the lead on top fall into it. The towel is used to drop the bullets onto. If I am going to water quench the bullets I keep a bucket of water on the ground to my left. This brings up a safety concern you can never let water touch molten lead; a violent reaction will occur if you do. It is important to keep the bucket that you dump the bullets into far enough away form the furnace so that there is no chance of water splashing into it.
It is important to wear the proper safety equipment. Wear safety glasses and gloves at all times; a shop apron is also helpful so you don’t get lead splashed onto your clothes. When choosing gloves choose a pair that allow for you to move your fingers easily and still have some sense of touch. A good pair of leather gloves works the best.
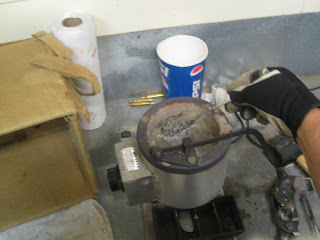
Once you have the area you are going to cast in ready. It is time to fill the pot full of lead and turn it on. The lead will fill the air voids in between the ingots as it melts so you can fill the pot until it heaps over the top a few inches. It will take about an hour for the lead to melt and get up to a hot enough temperature to begin casting; so, you can leave for a while and come back and check on it periodically. When the lead has melted it is time to start checking its temperature. It needs to reach about 700 Degrees Fahrenheit.
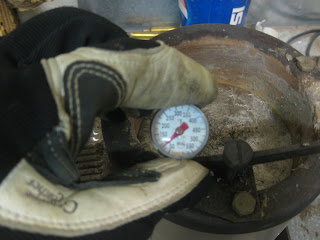
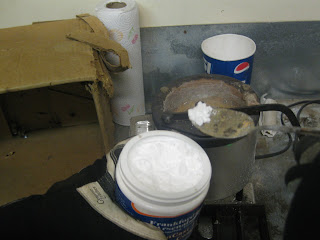
I check the temperature with a candy thermometer. Even though it doesn’t go up to 700 degrees I can guess about how far past its highest reading the needle needs to go to be about 700 degrees. Once the proper temperature has been reached it is time to flux the metal to get any impurities out and make the alloy more homogeneous. There are lots of different things used as flux; but, I prefer to used a powdered flux made by Frankford Arsenal and sold by MidwayUSA.
Before fluxing take a table spoon and scrape the sides and bottom of the the pot to loosen up any dirt that might be sticking to it. It is important to wear gloves while doing this because the metal is 700 degrees. As you scrape dirt will start to float to the top. Once you feel you have scraped the pot enough skim the dirt off the top with the spoon and discard it. I keep an old pie tin next to the furnace to discard dirt in to. Once you have done this scoop about a teaspoon full of the fluxing powder in to the table spoon and begin string it into the melt. It is important to stir quickly; but, not so quickly that lead splashes out of the pot. Stir for about one minute. Dirt will float to the top which will need to be skimmed off after you are done stirring. I may be necessary to flux again if you still feel like there is dirt in the melt.
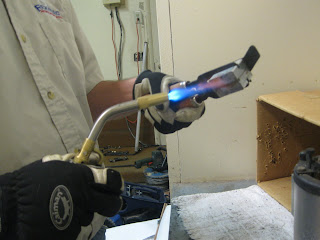
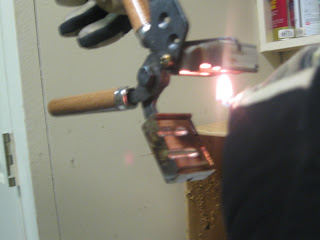
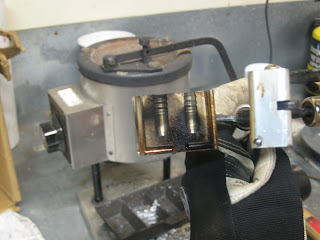
Now that the lead is cleaned it is time to get the mold ready. Inspect the mold to make sure it is clean and then begin heating it up with a propane torch or by dipping the base of it in the molten lead. Once the mold gets hot it needs to be lubricated if it is an aluminum mold. To lubricate it touch a stick of 50% bees wax 50% alox bullet lube to the area where the sprue plate hinges so it moves freely.
The Casting Process:
Now you are ready to begin casting. To start put the mold about an inch and a half away form the spout on the bottom the furnace and pour lead into each cavity. Once each cavity has filled let some lead stay on the top of the mold so it can draw more lead in as it cools. This is important so that the base of the bullets are filled out properly.
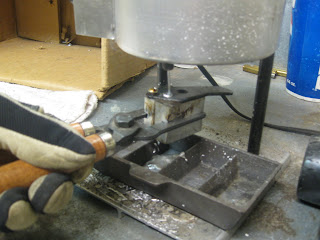
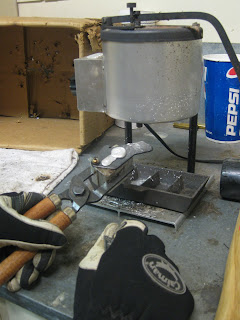
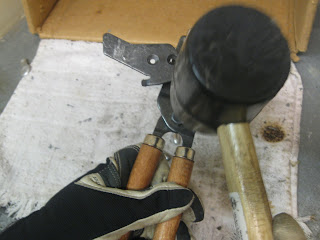
After the lead has hardened take a rubber mallet and knock the sprue plate open into the box off to the side. Then tap on the mold handle hinge as you open it over the towel to let the bullets drop out. The first several bullets will be rejects because the mold will need to get hotter. Cast fast during this initial time to get the mold heated up and casting good bullets. The bullets are good when the edges are sharp and there are no wrinkles in them.
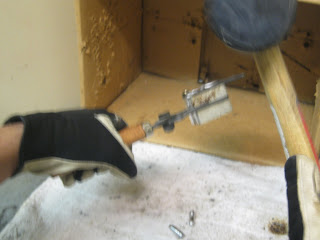
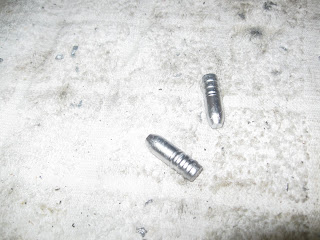
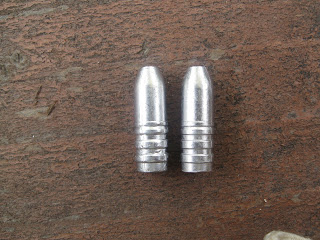
Once the mold and lead are hot enough and you are getting good bullets it is time to start water quenching them if you want them harder. A good indication that the mold is hot enough is when it takes 8-10 seconds for the lead on the top of the mold to harden up enough to open the sprue. Then cut the sprue into the box and immediately turn and open the mold over the bucket of water on the floor. The bullets will make a sizzling noise when they hit the water.
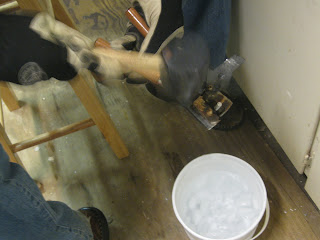
At this point you are ready to start cranking out some bullets. Take advantage of the the time and cast as many as you can. When it starts to take more than about 10 seconds for the lead to harden in the mold enough to open it you need to let the mold cool for a few minutes. This is a good time for to top off the pot with more lead and make sure it is clean. You can also run two molds at once. This will help keep the molds from getting to hot very fast and let you cast longer before needing to let them cool.
