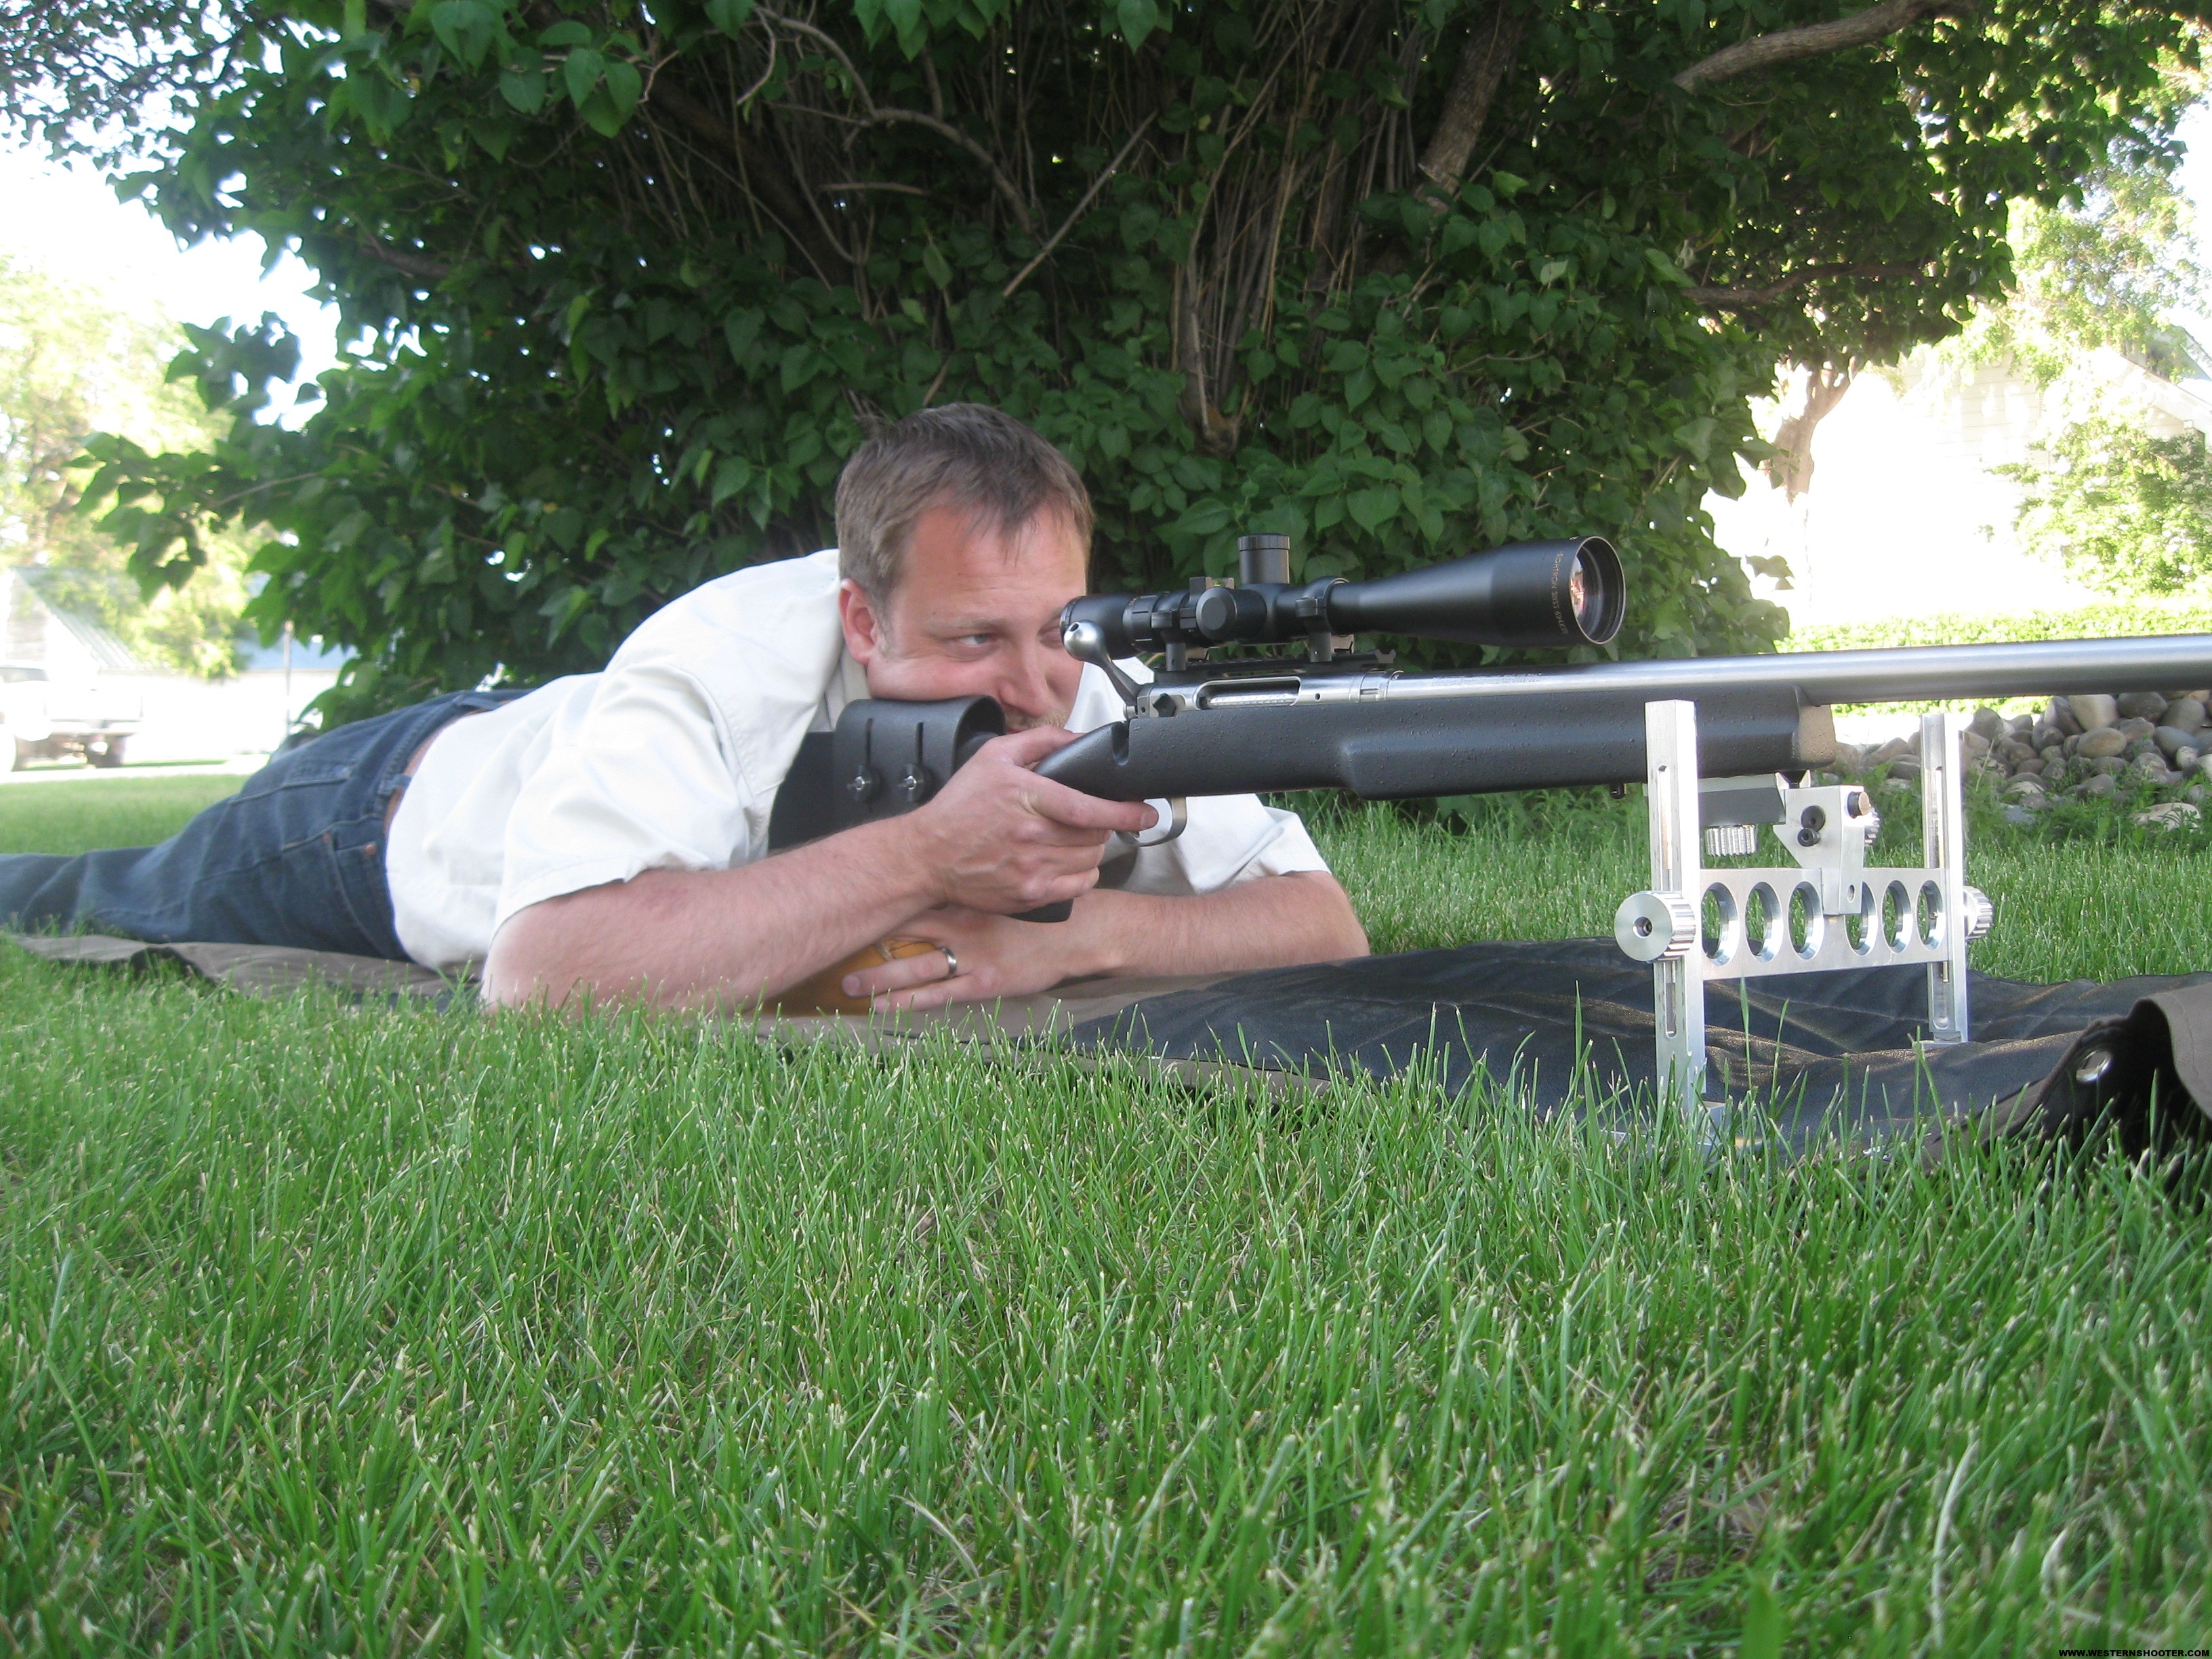
Since there has been no definitive article that I have found on proper bipod hold I decided to do my own testing. I loaded up 50 rounds of 308 ammunition and went to the range with my Savage model 12 F/TR. The load I used has proven to be consistent in my rifle; although, some more load development is probably in order. The point of my testing was not to look at group size as much as it was to look for trends that occurred with each way I held the rifle.
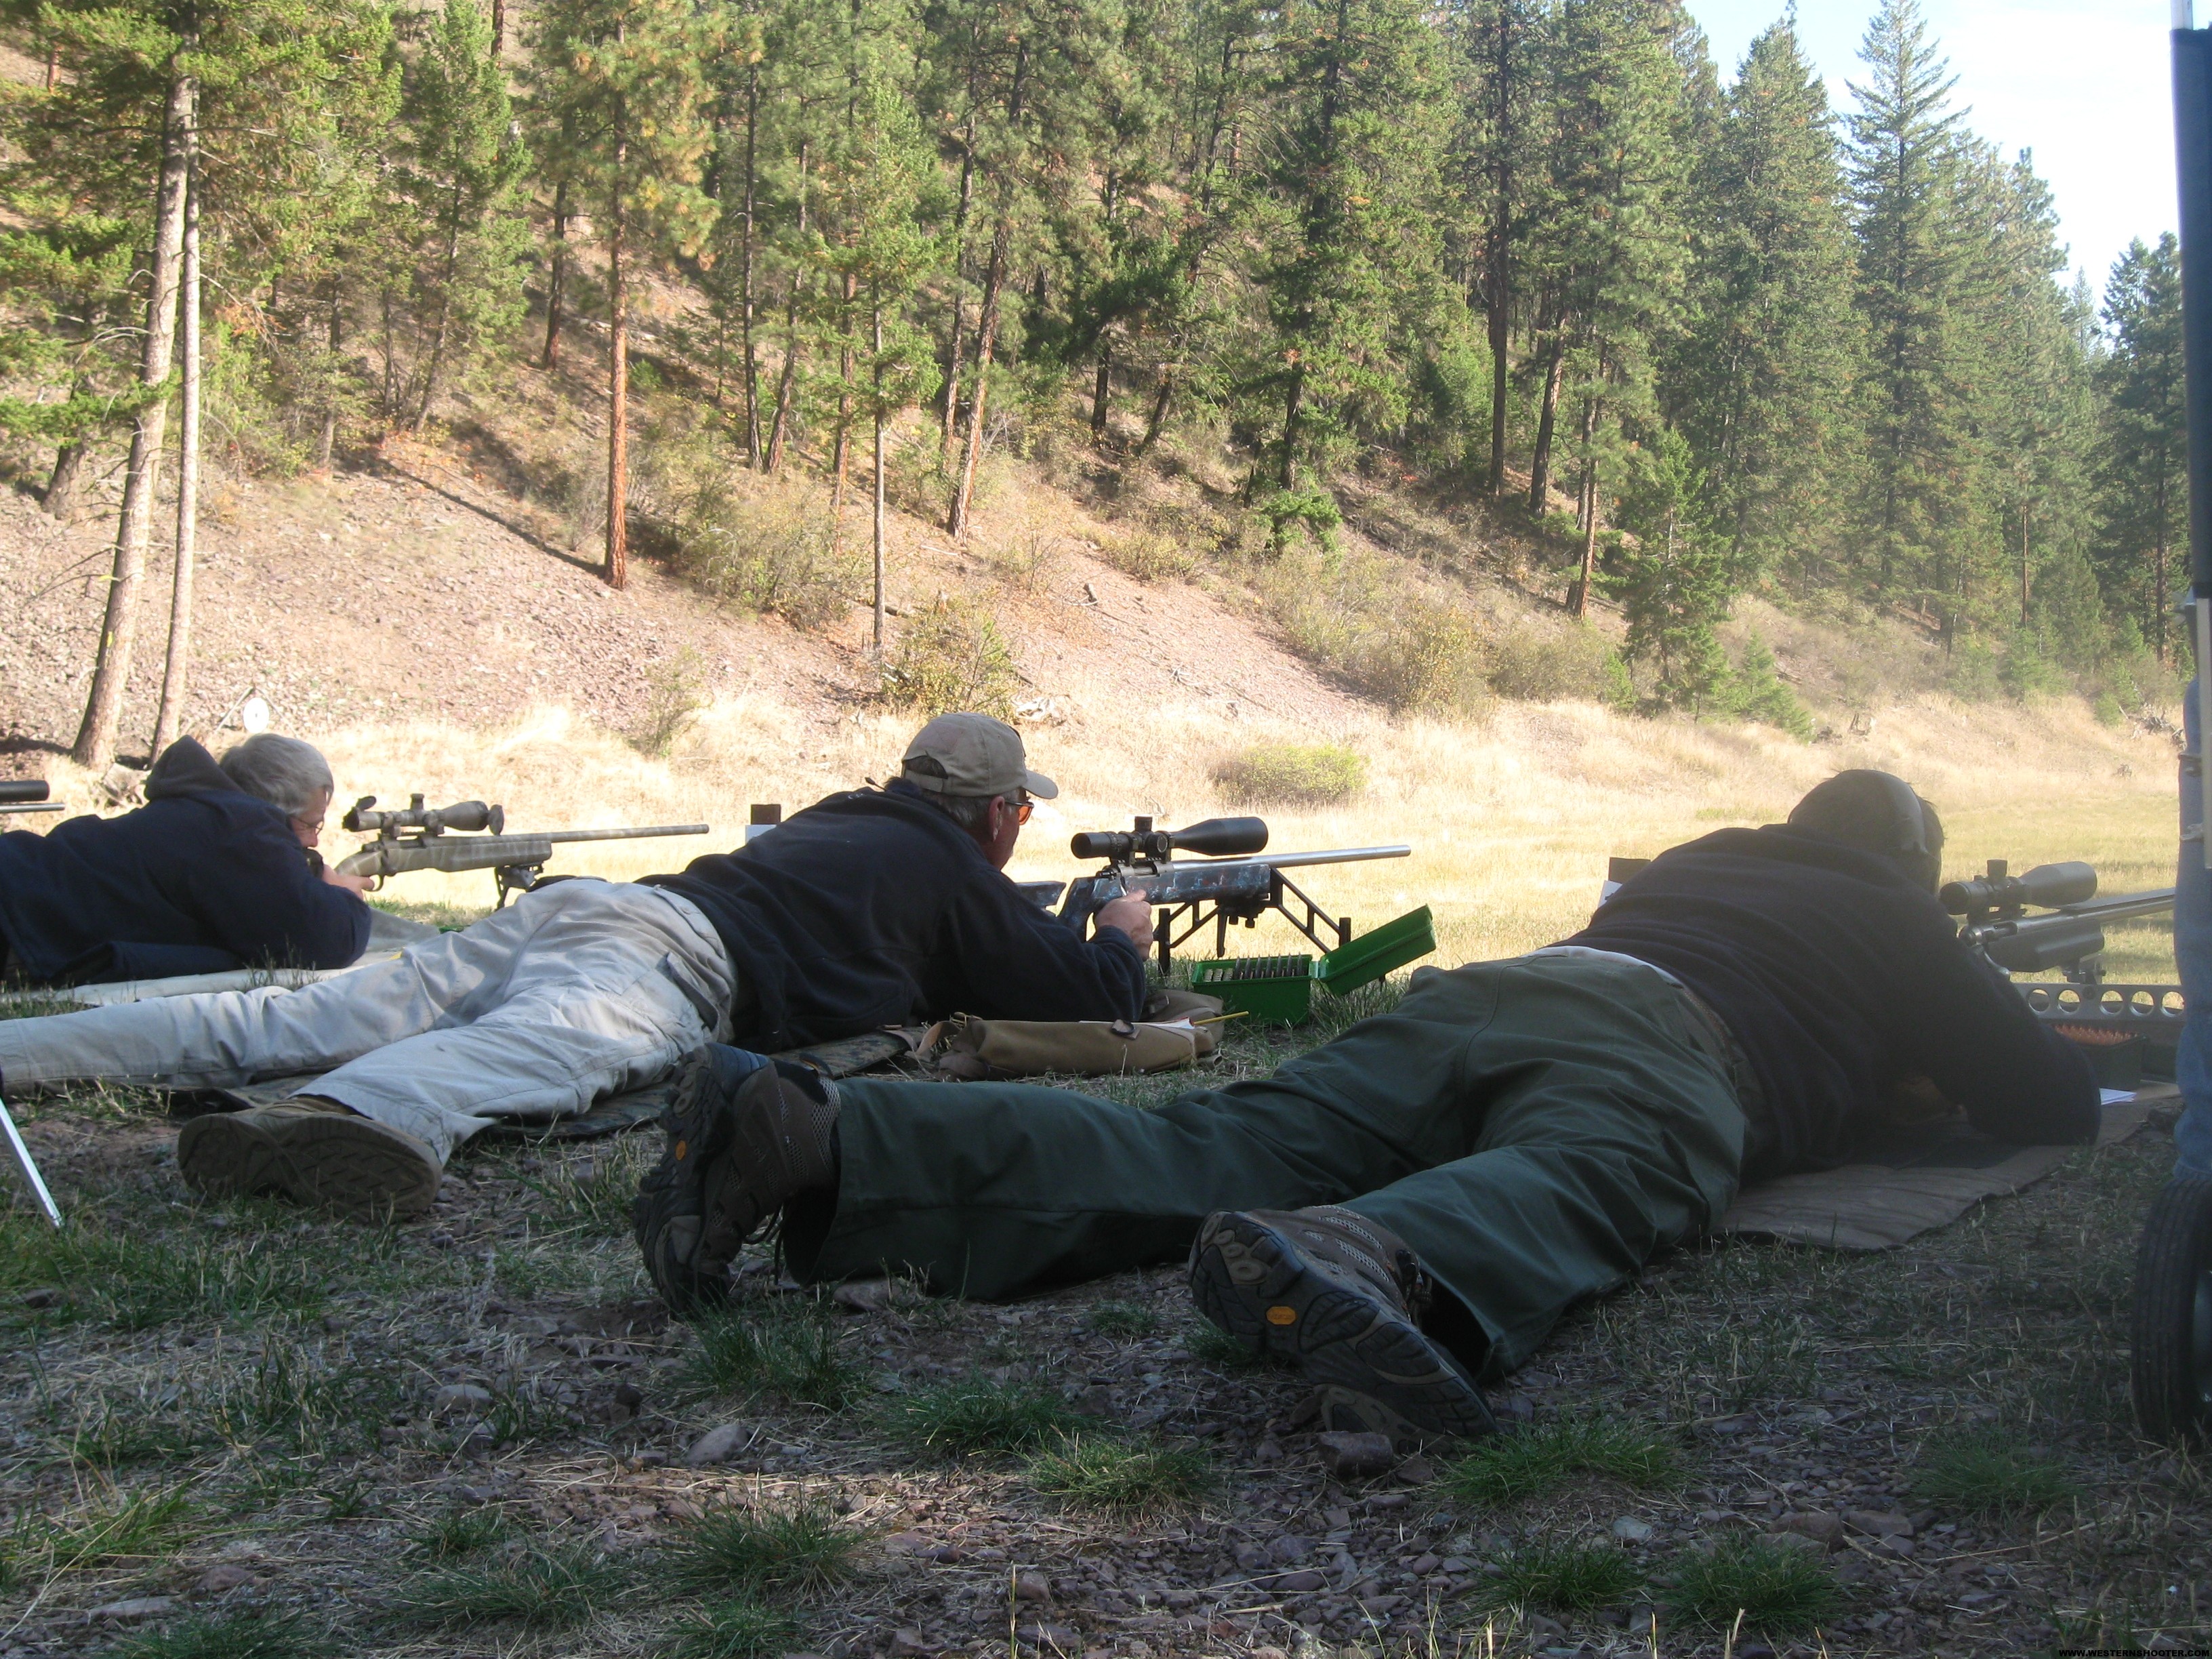
I used a M. Werks LLC bipod along with a Harris bipod for the testing. These two bipods represent the two extremes in bipods. The Werks bipod lets the legs slide freely under recoil and the Harris has sticky legs that most shooters load into when they shoot it.
During the shooting I used varying degrees of pull into my shoulder and cheek weld pressure. By pull into my shoulder I mean the amount of pull my strong arm pulled the rifle butt into my shoulder. Cheek weld pressure was varied by moving the adjustable cheek rest up and down. Here are some definitions of each way I held the rifle:
- Heavy cheek weld- The cheek piece was adjusted so that my head and neck muscles were relaxed and laying on the cheek piece like a pillow with strong eye lined up perfectly with the scope. The whole weight of my head was pushing on the stock.
- Moderate cheek weld- The cheek piece was adjusted so that I had to use some muscle to hold my head up to see through the scope. My head was putting about 10-15 lbs. of pressure on the stock.
- Light cheek weld- The cheek piece was adjusted so that I had to hold most of the weight of my head up with my neck and shoulder muscles.
- Heavy pull into shoulder- The stock was pulled back with about 10 lbs. of pressure into my shoulder.
- Moderate pull into shoulder- The stock was pulled back with about 5 lbs. of pressure into my shoulder.
- No pull into shoulder- The stock was not pulled back at all and a slight gap was left between my shoulder and the butt stock.
I used a Protektor rabbit ear rear bag for all of the testing. The rabbit ears are big enough that you can squeeze them to adjust elevation without too much fatigue. When I am getting ready to shoot I position the rear bag in the middle of the butt stock and then tamp the stock into it several times to get it good and settled. I then adjust the legs of the bipod for elevation. I adjust the legs so that the cross-hairs are about 1.5MOA above the target without any human involvement. I then get into position behind the rifle exactly the way I want to shoot. I make the fine elevation adjustment by squeezing the ears of the rear bag together with my left hand until the cross-hairs are just below the center of the target. I then slowly release the ears ever so slightly until the cross-hairs are just where I want them. I apply quite a bit of pressure with my left hand on the ears while doing this to get the rear support as solid as possible.
A key to my rear bag technique is making sure that the rifle is naturally pointed with the cross-hairs just above the target the same every time with out touching it. This ensures that the same amount of pressure is applied to the but stock as you squeeze the ears to adjust elevation. As you shoot a longer string of shots the bag will tend to settle and the cross-hairs will naturally point higher and higher. To adjust for these larger elevation changes I move the rear bag a little farther back under the butt stock; this is only possible with a butt stock that slopes on the bottom. I use the mil-dots in my scope to make sure the rifle is naturally pointed about 1/2 a mill above the target and then make the finer adjustments by squeezing the bag.
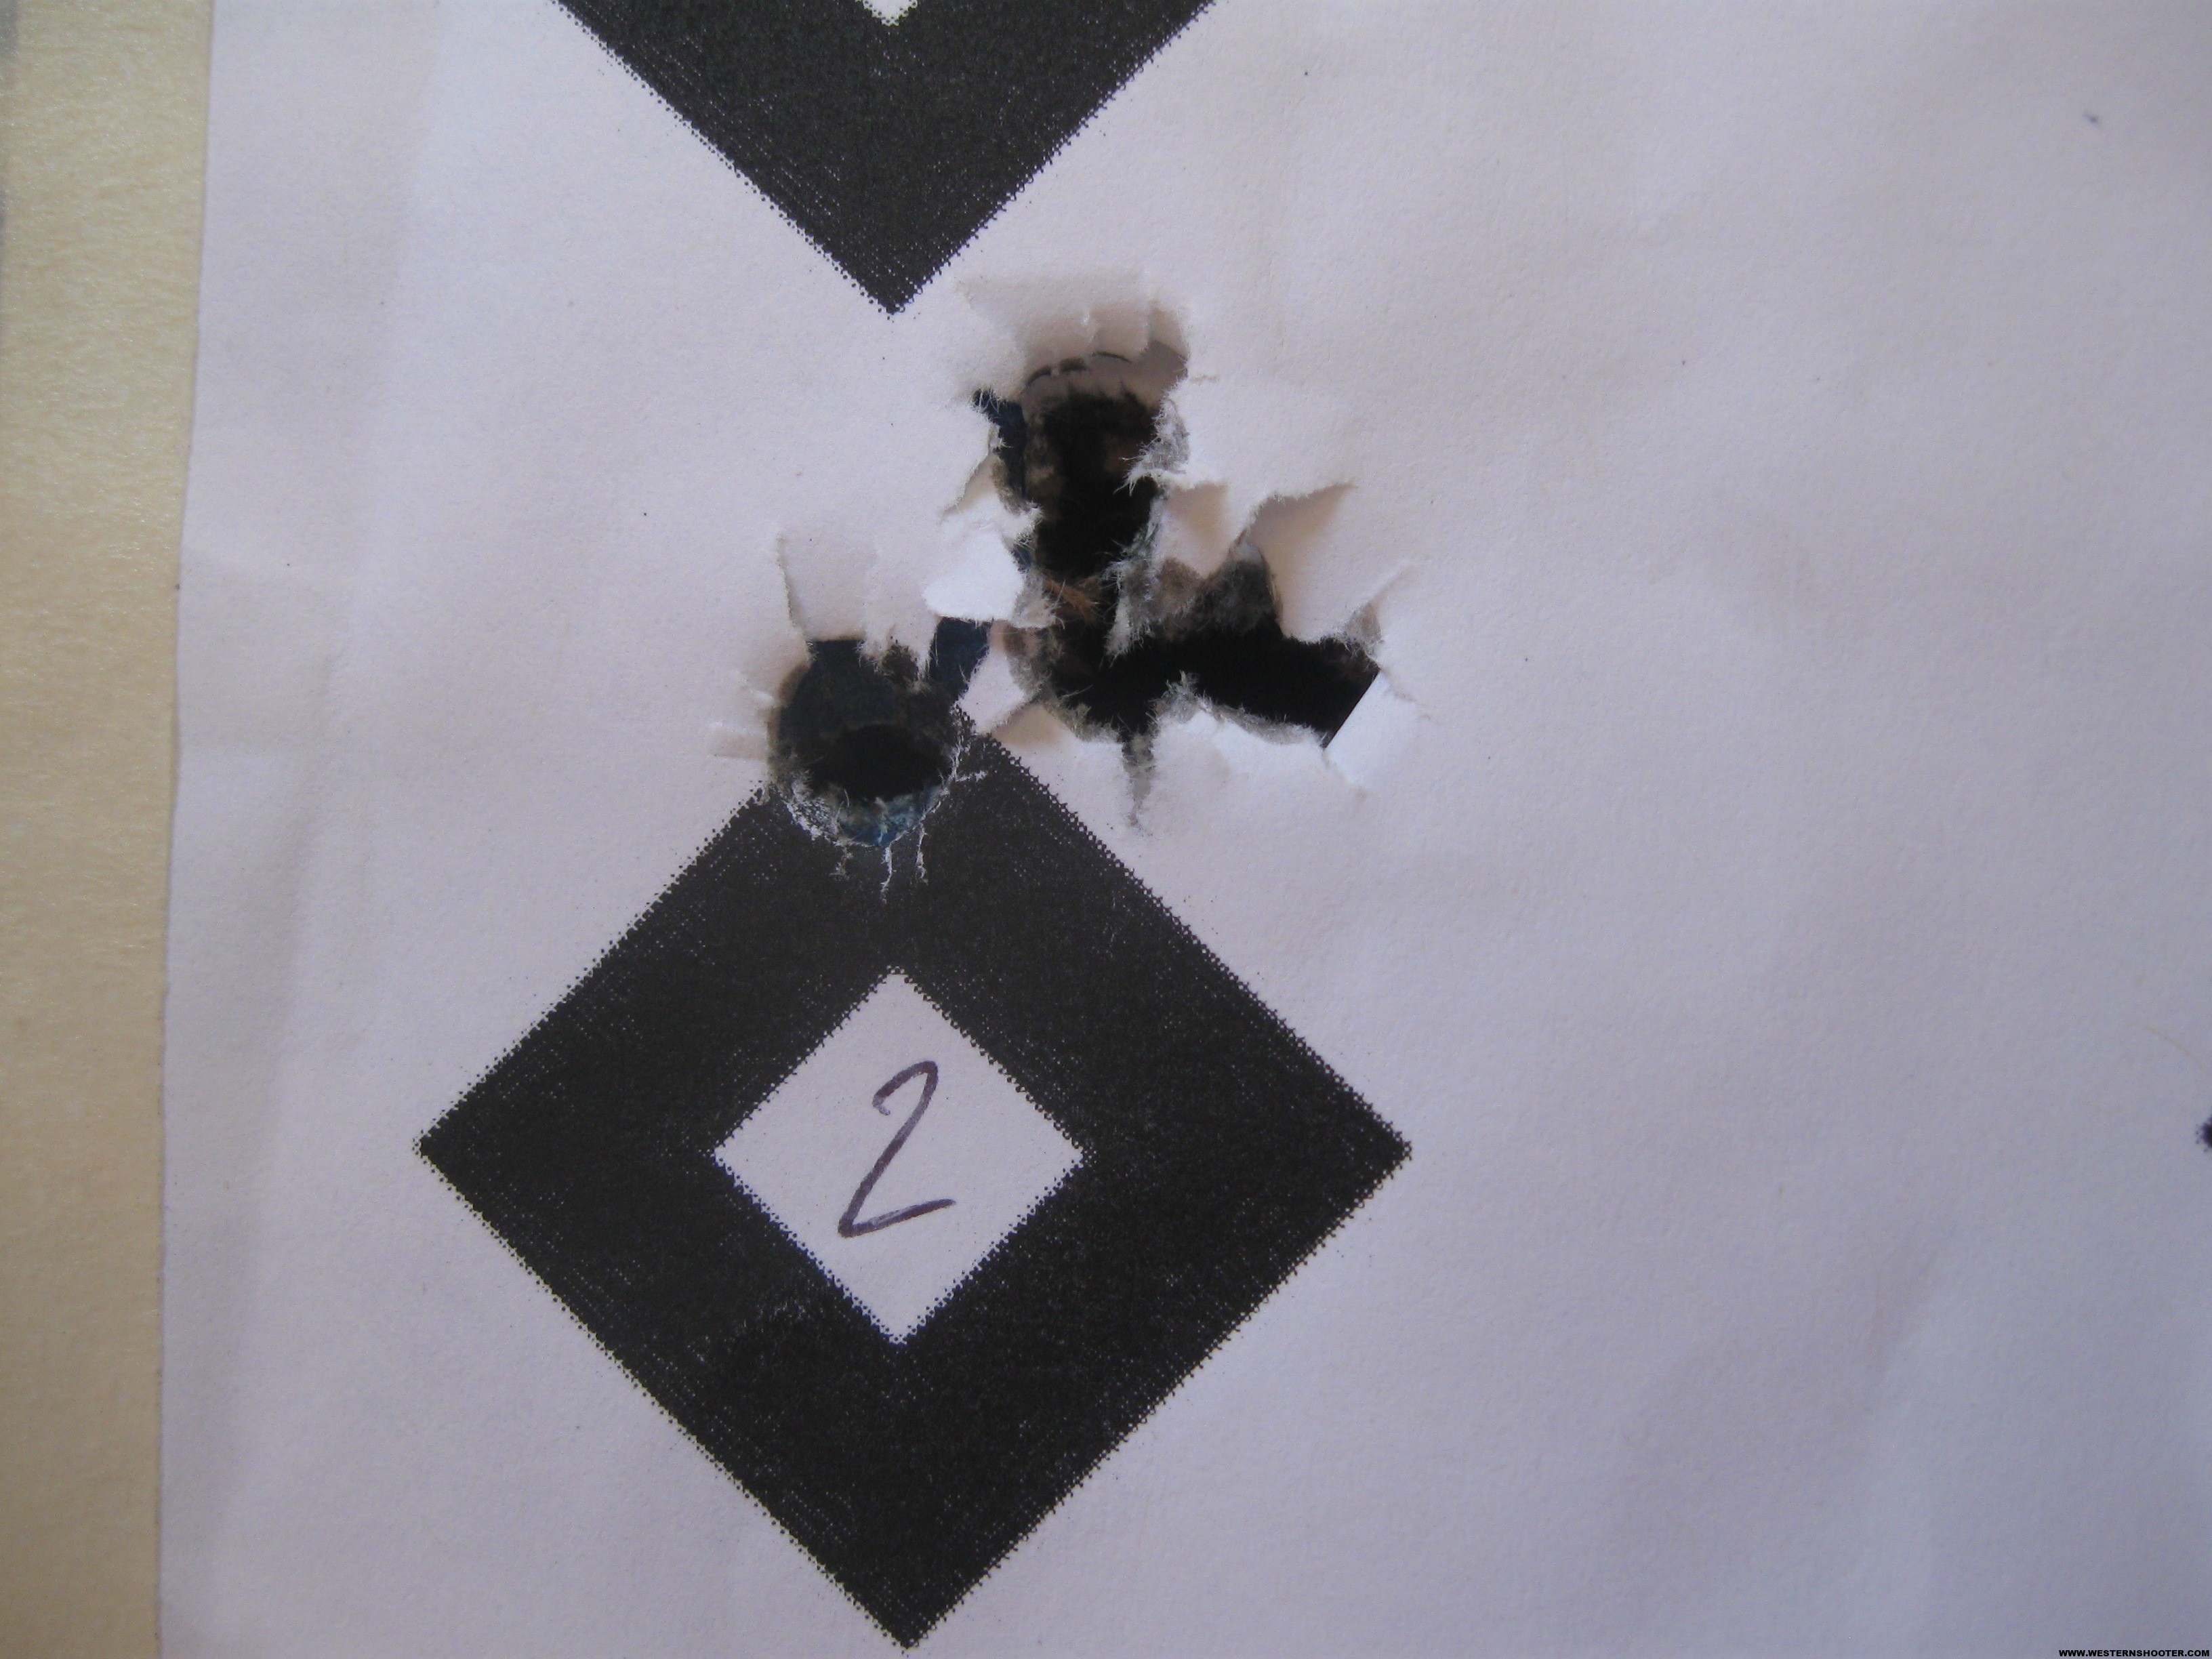
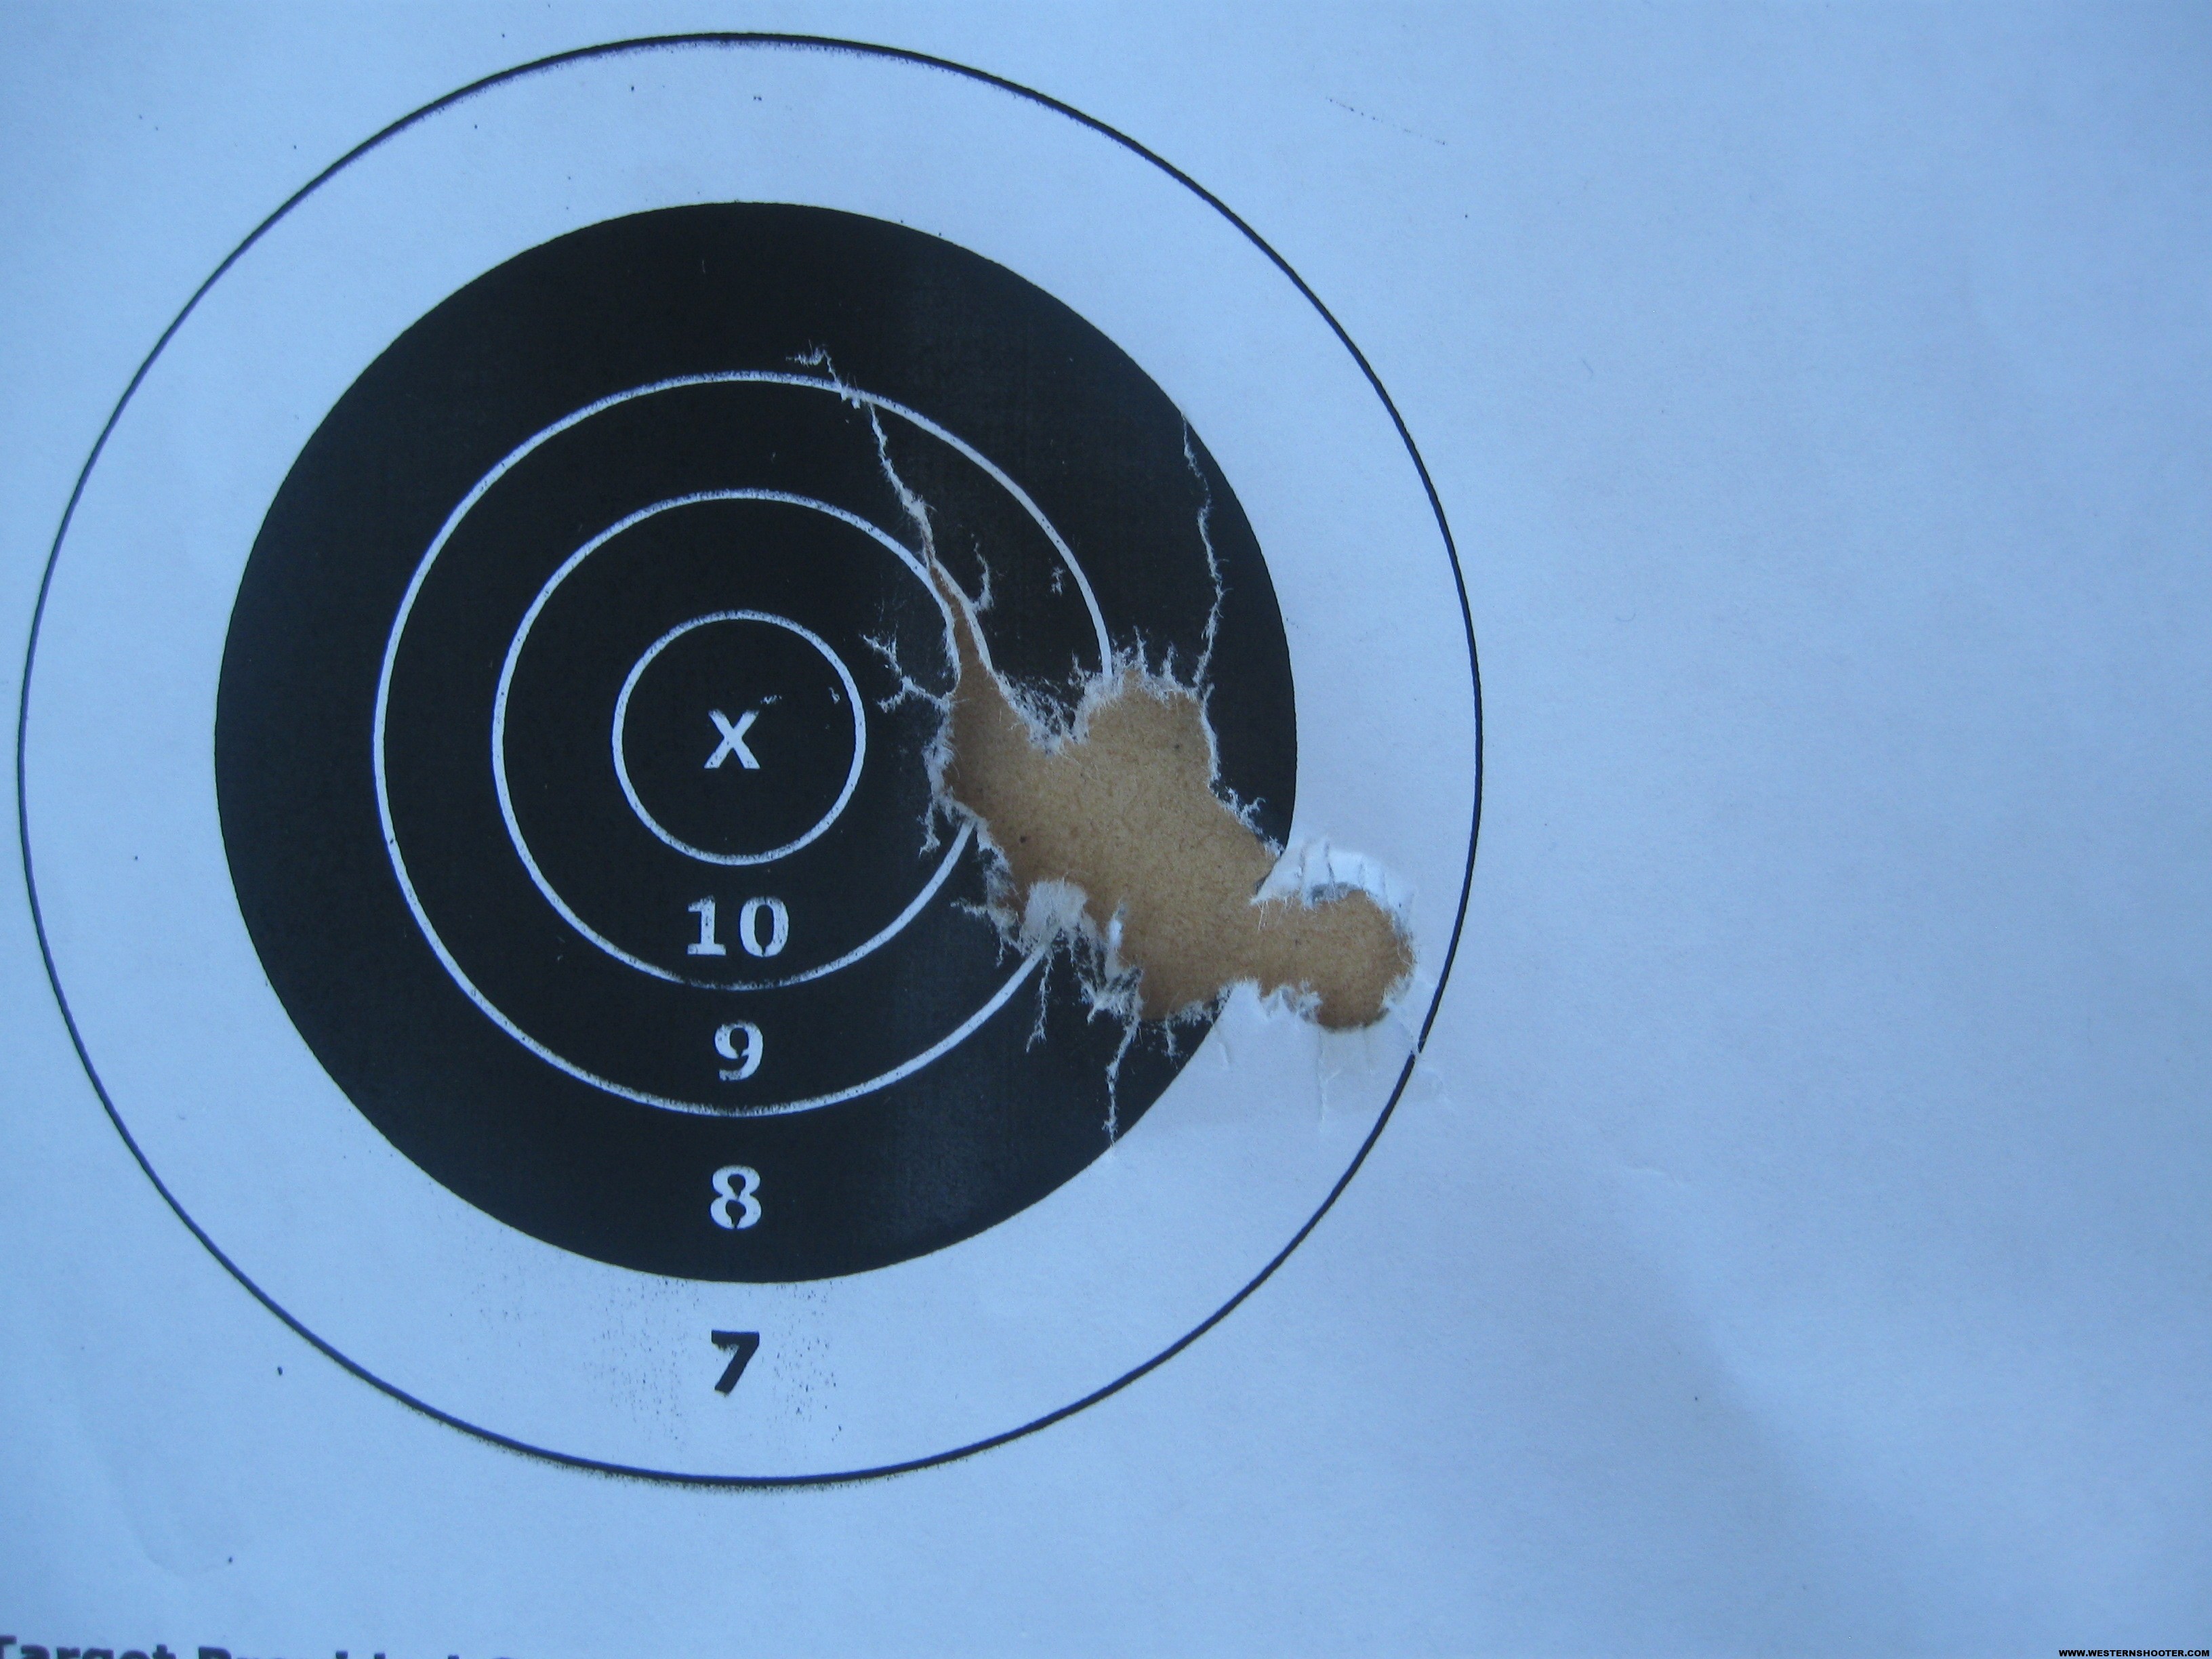
Each of these following targets show a group that was shot with the varying degrees of cheek weld and shoulder pressure. I also shot two groups with a Harris 6-9 inch pivot bipod. One group was shot with the bipod loaded with moderate cheek weld and the other was shot with moderate pull back into my shoulder. All the following pictures show groups shot at 100 yards.
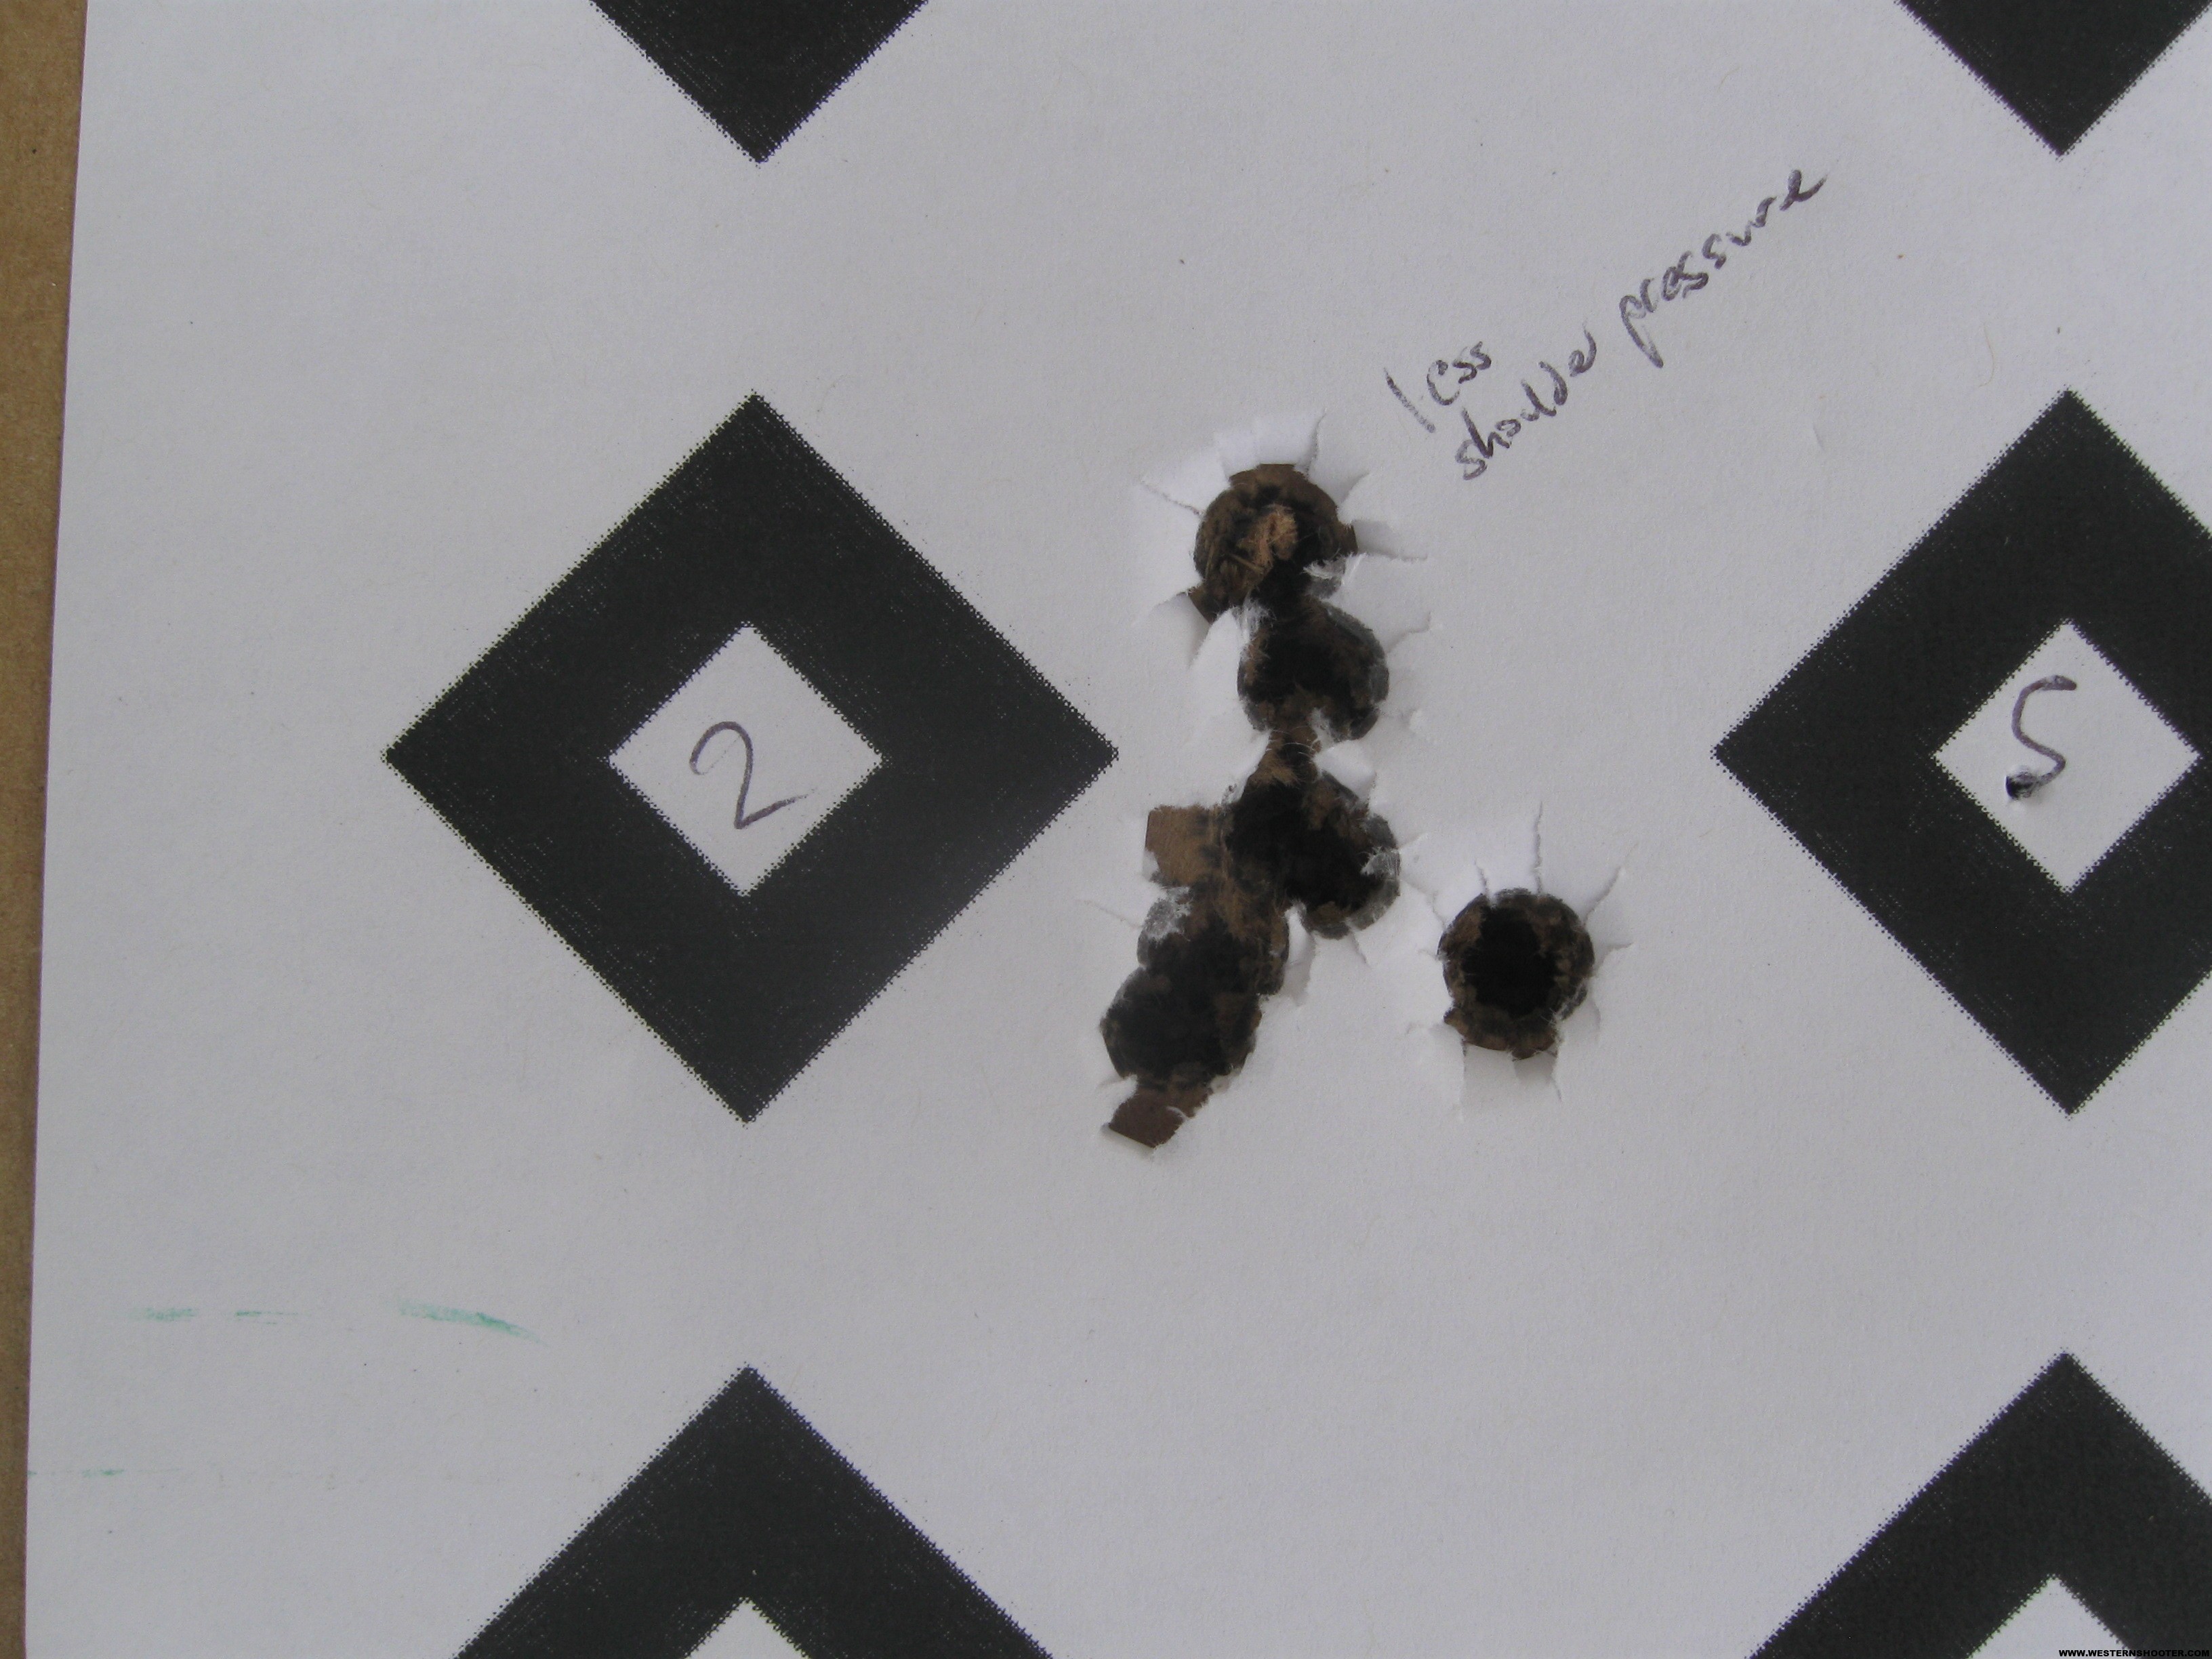
Target 2:
- Cheek weld: Heavy
- Pull into shoulder: Heavy
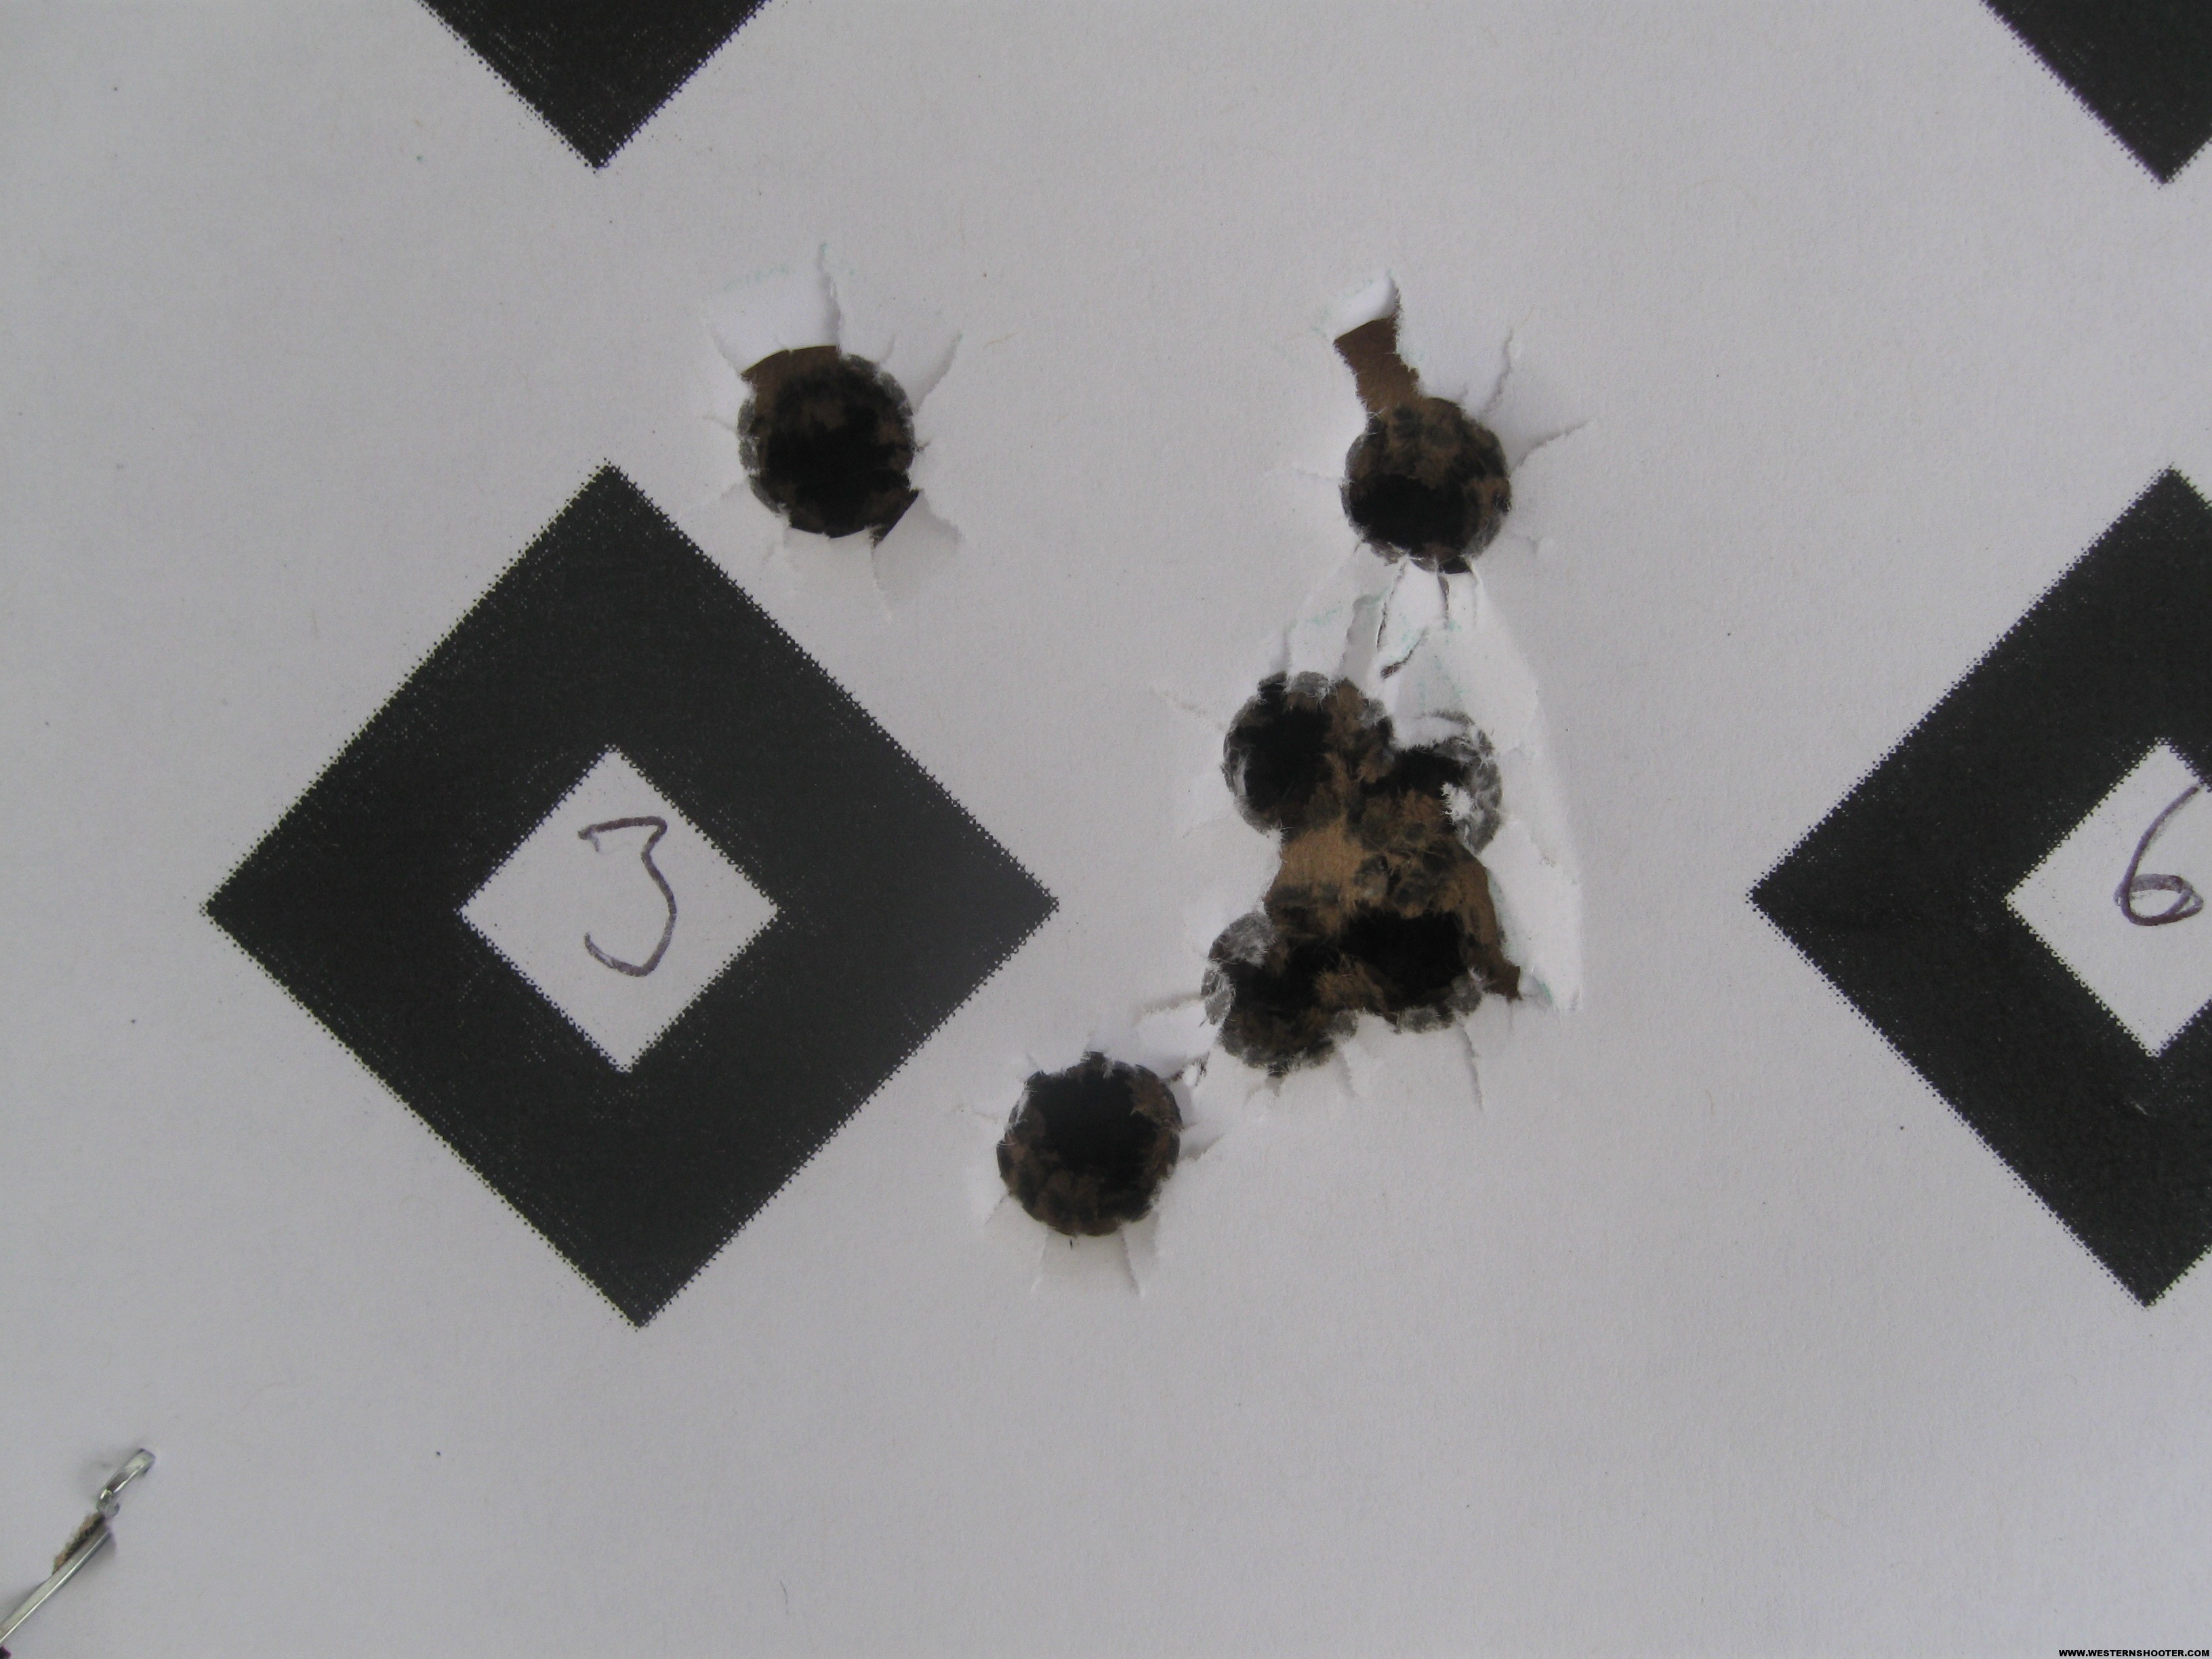
Target 3:
- Cheek weld: Moderate
- Pull into shoulder: Heavy
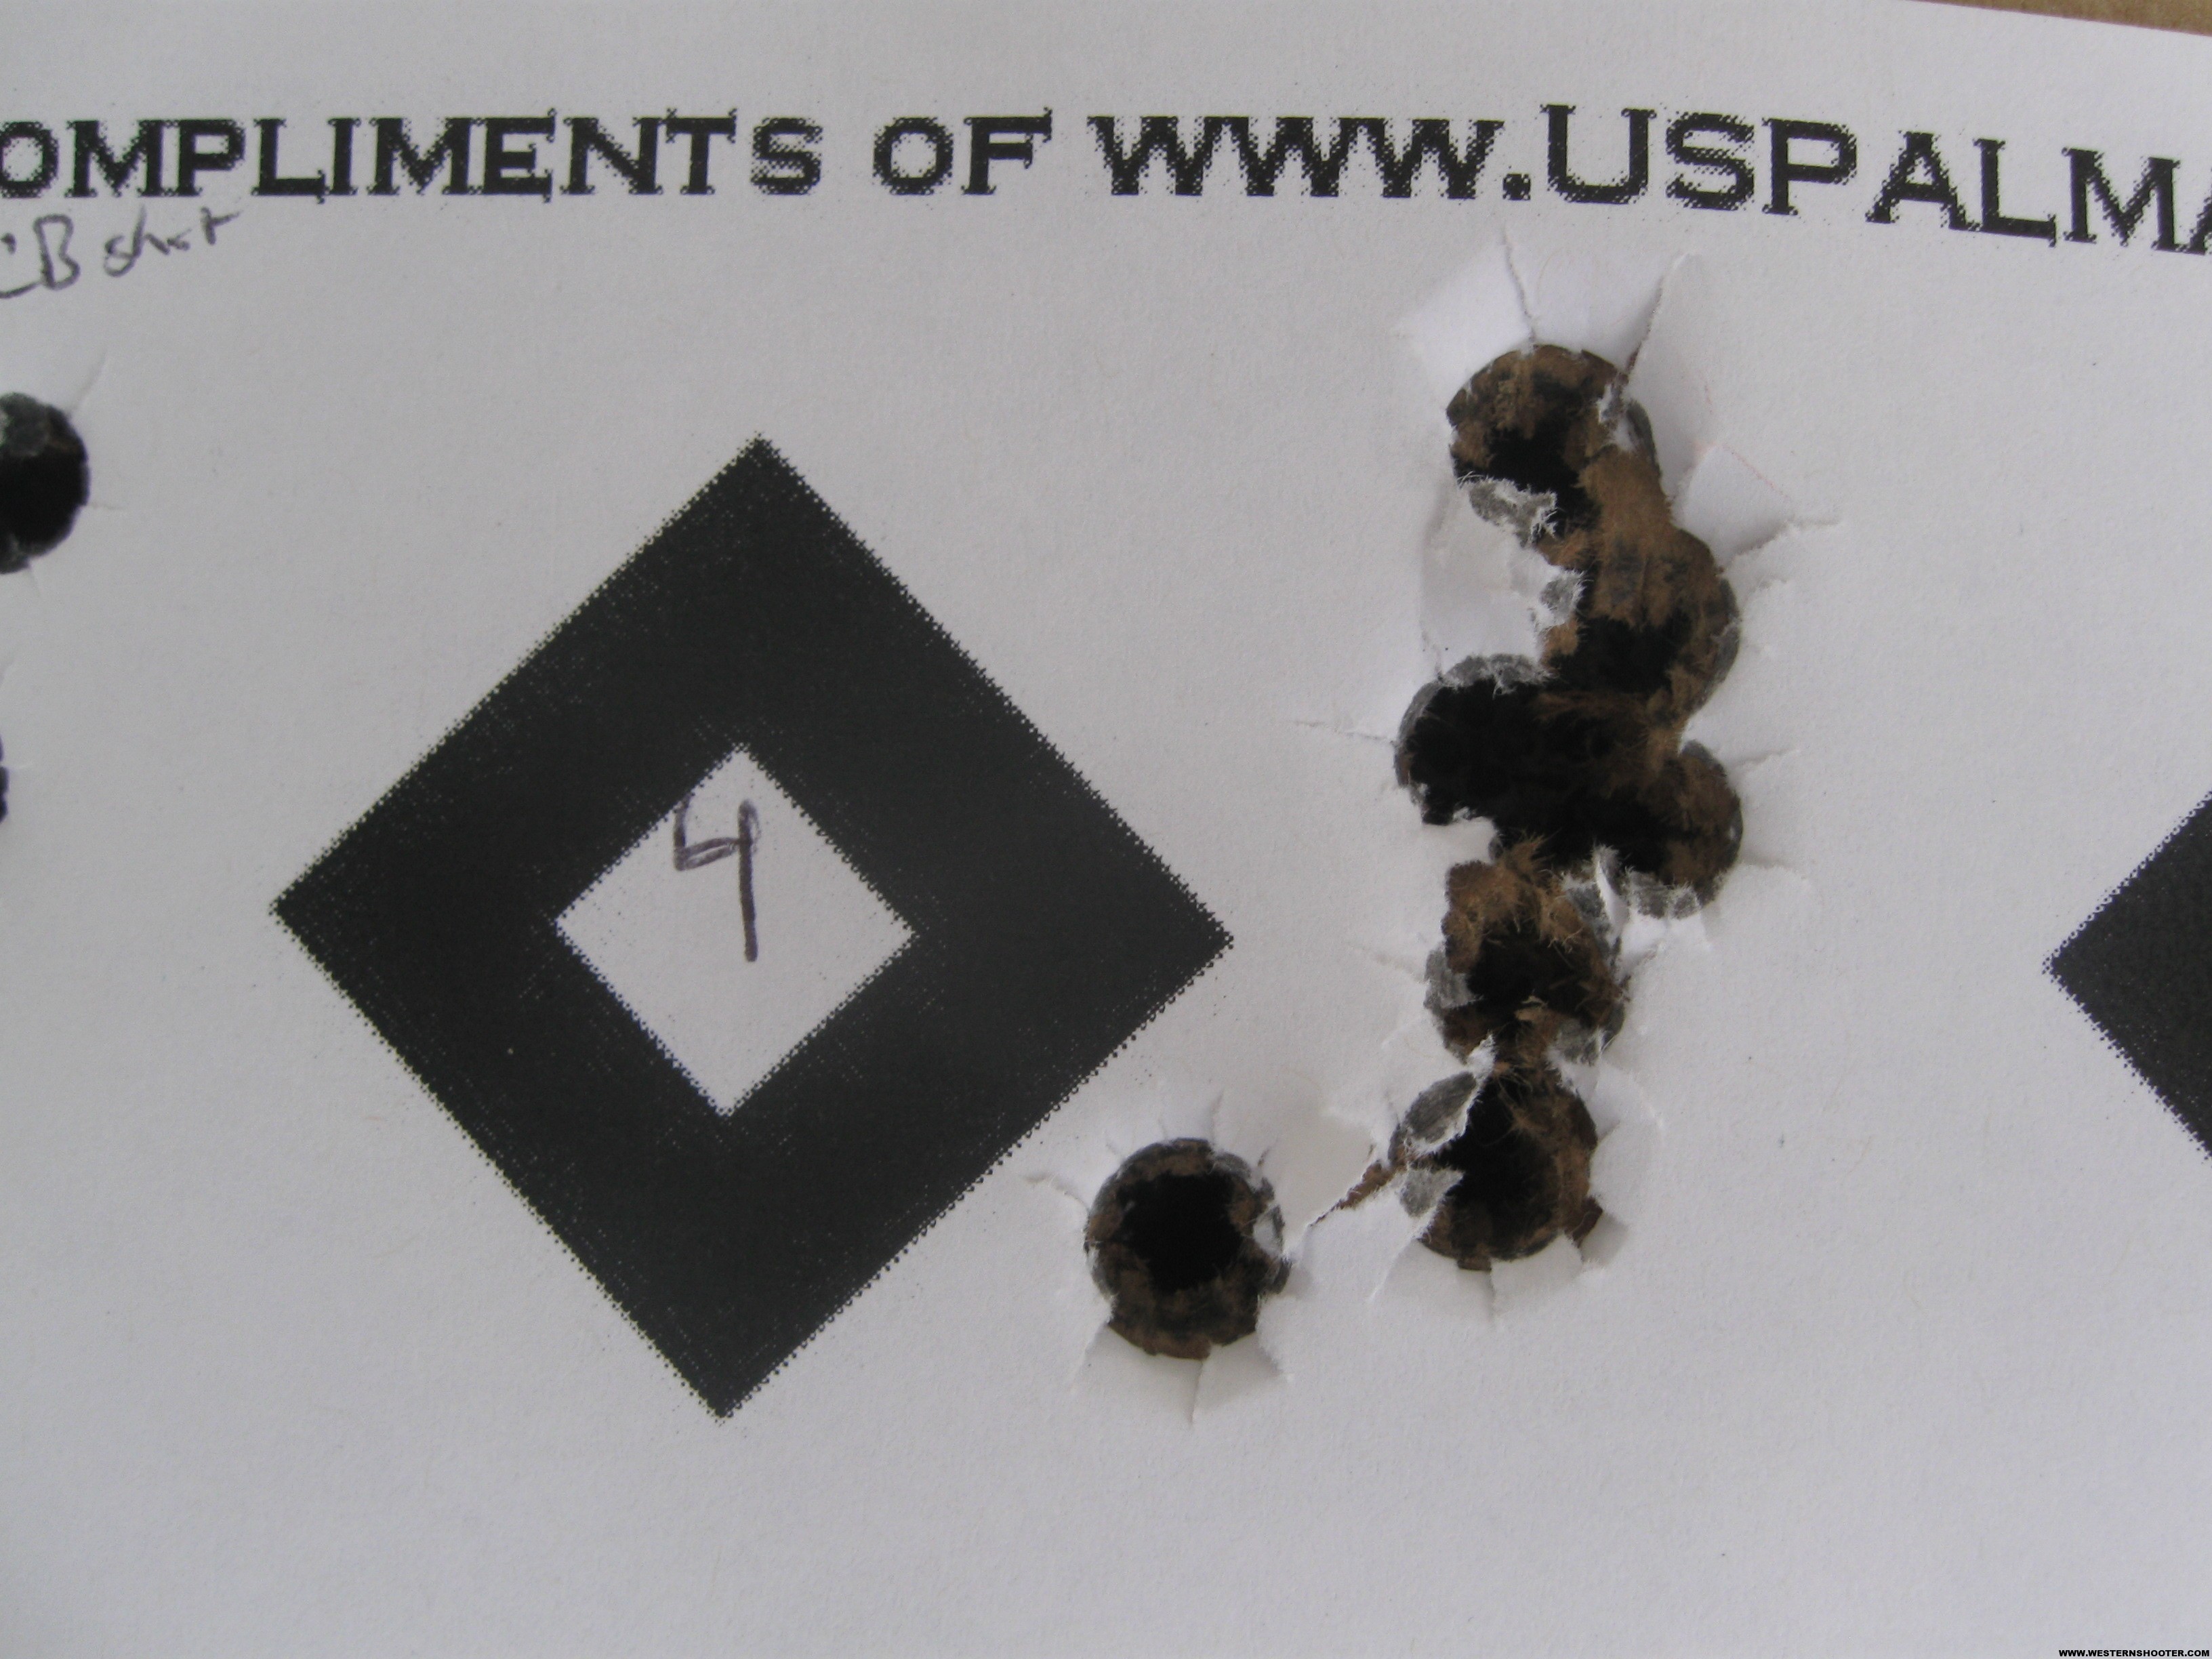
Target 4:
- Cheek weld: Moderate
- Pull into shoulder: Light to none
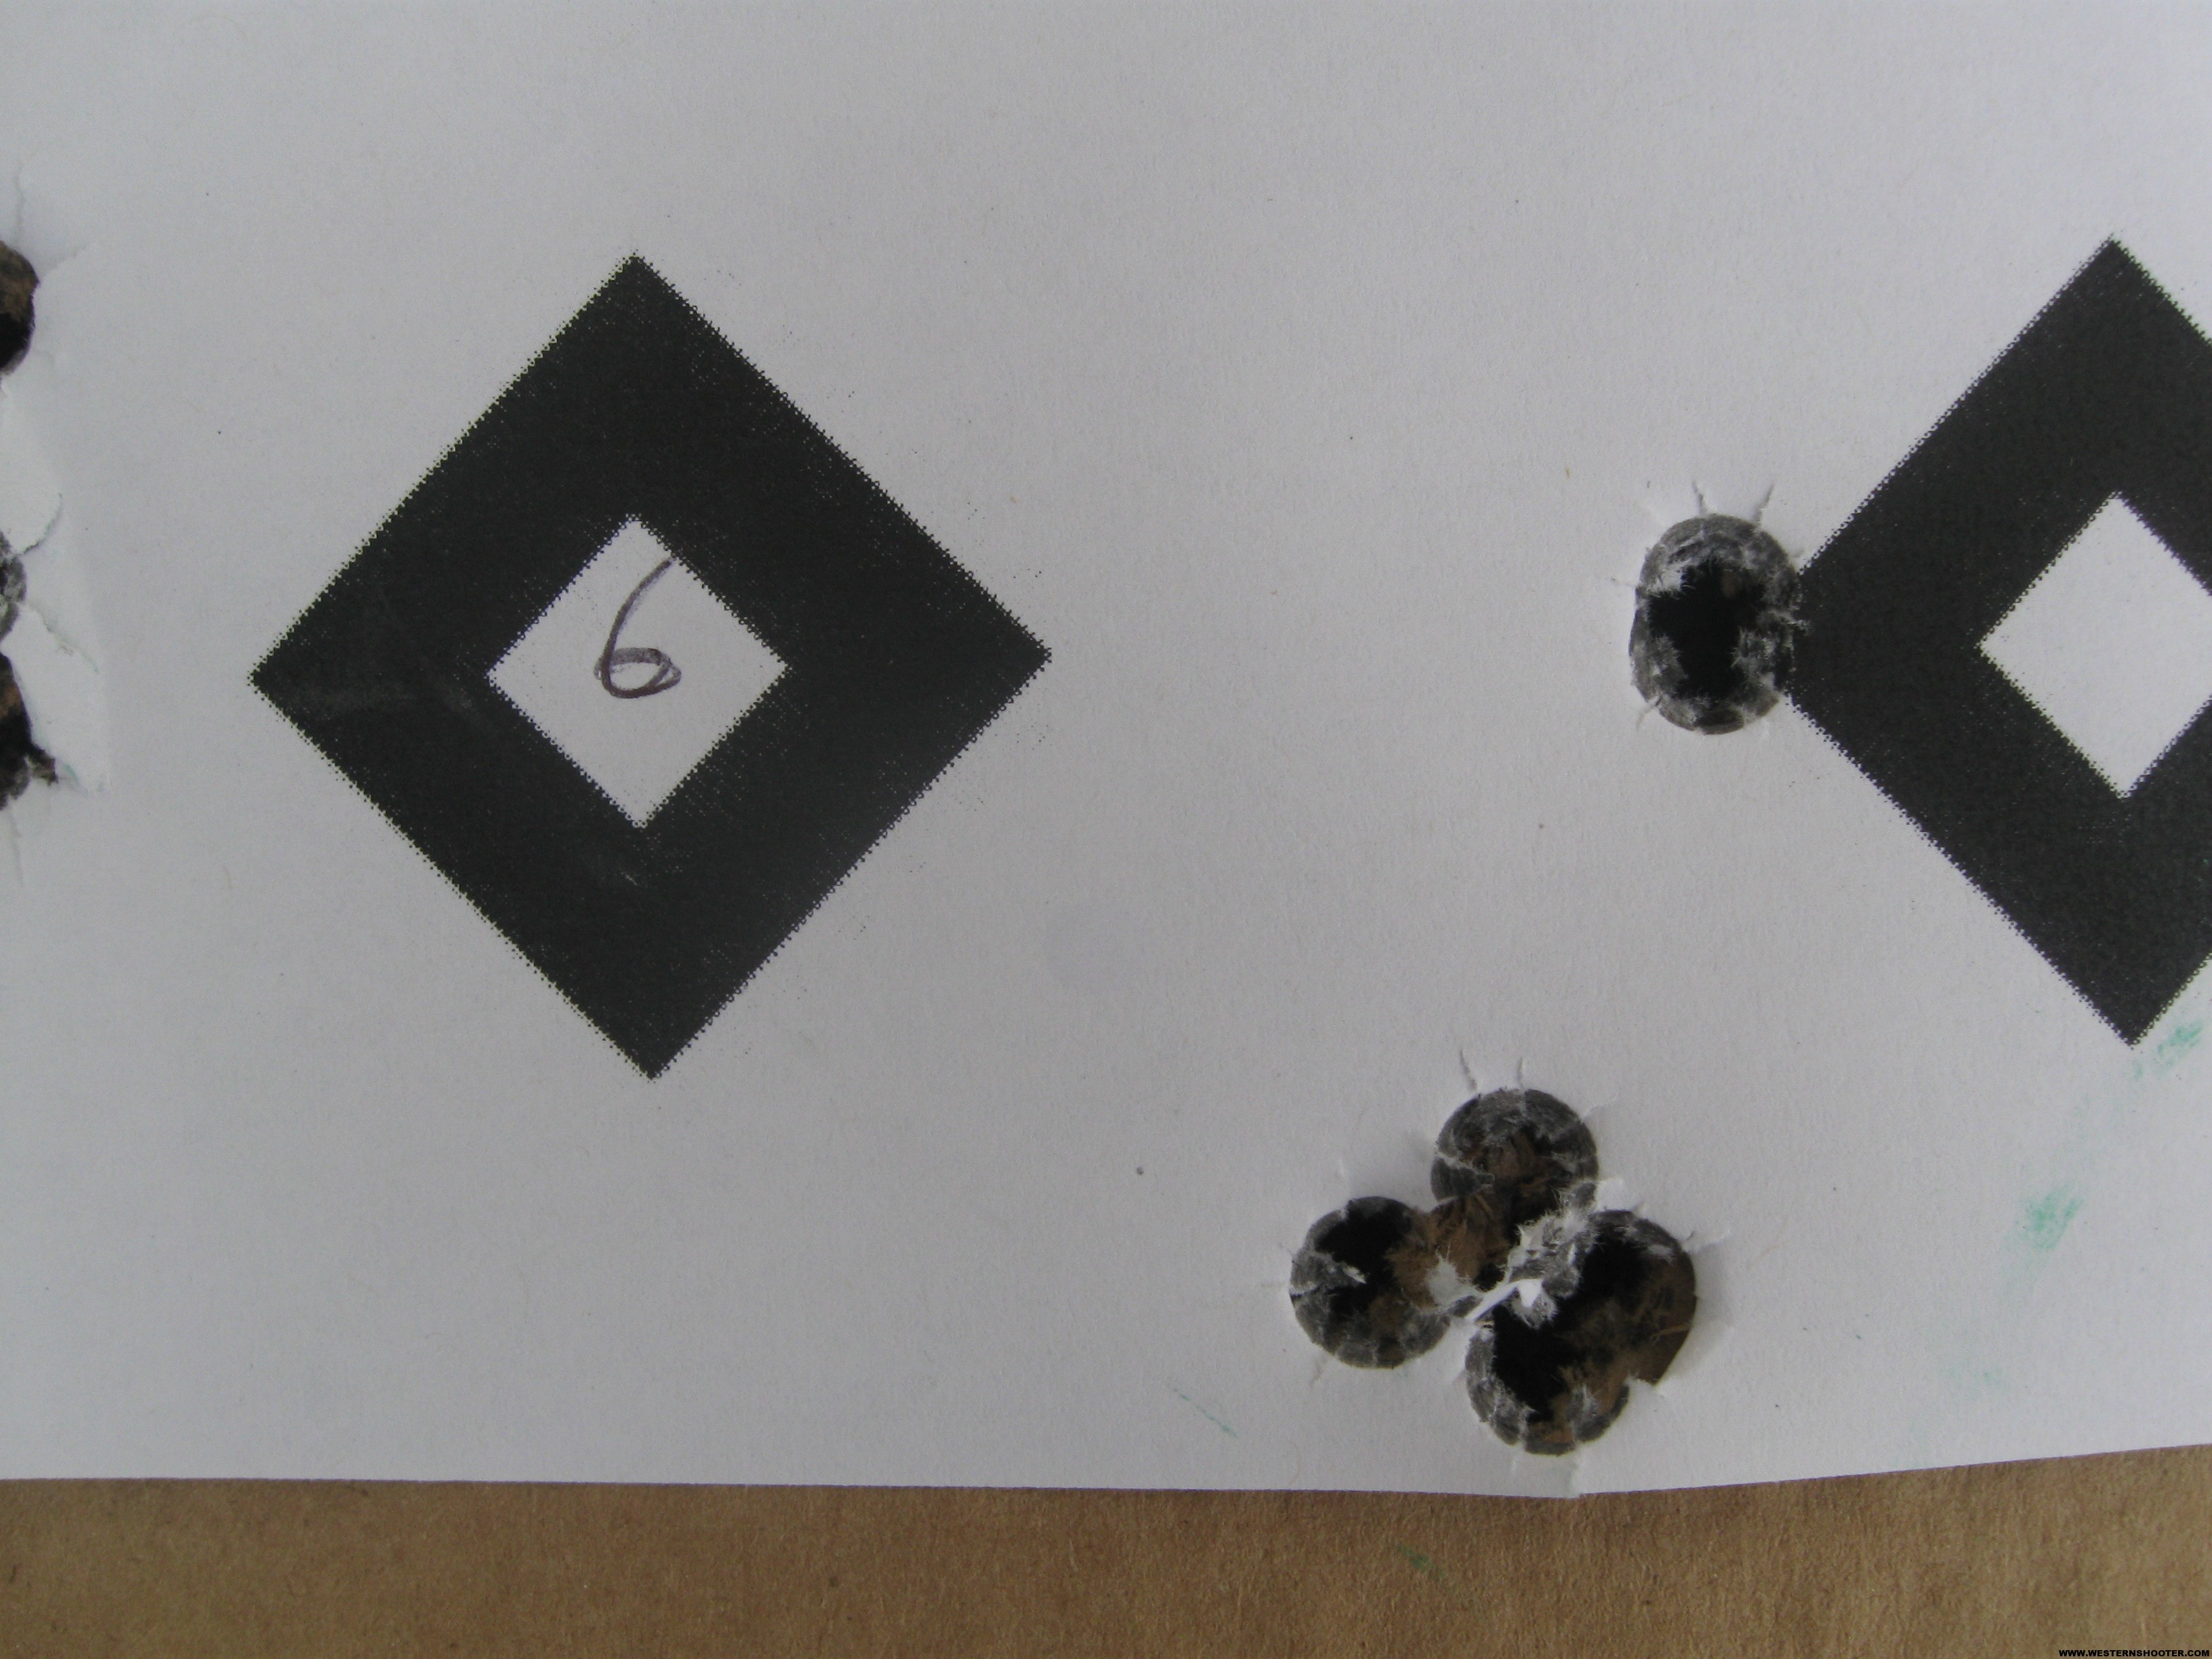
Target 6: Switched to Harris 6-9 inch swivel bipod.
- Cheek weld: Moderate
-
Pull into shoulder: Moderate
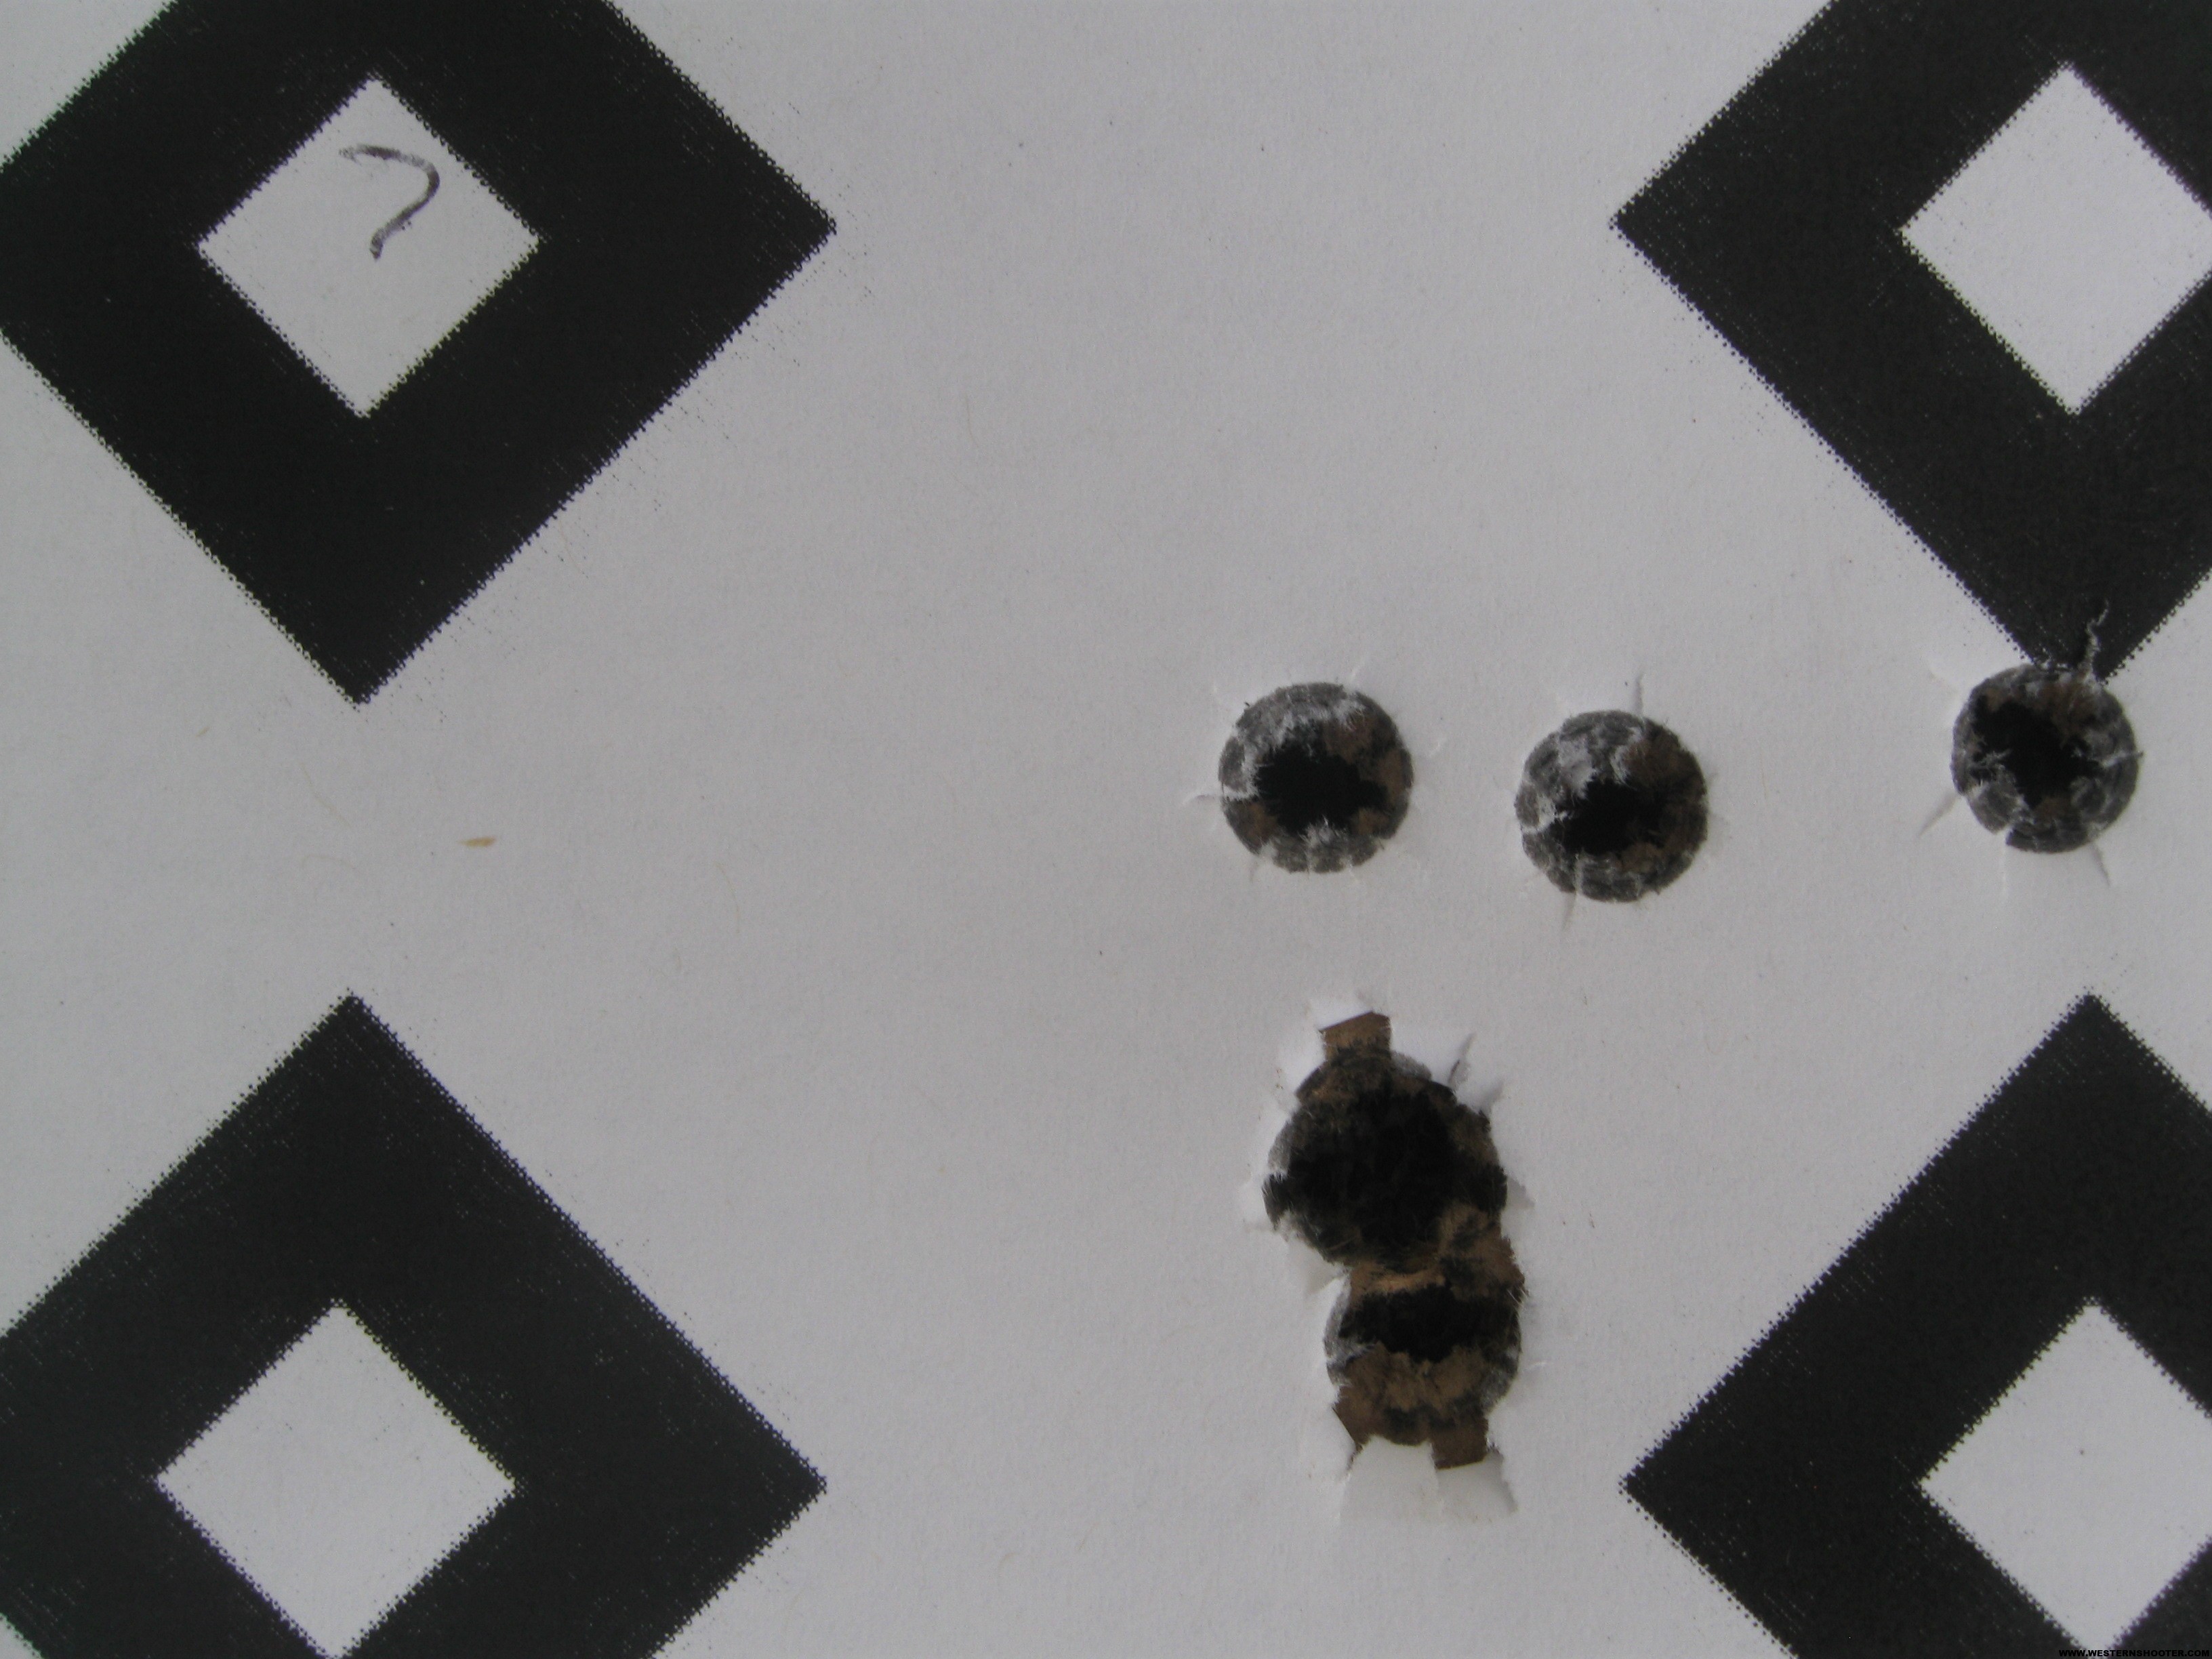
Target 7: Harris Bipod
-
Cheek weld: Moderate
-
Pull into shoulder: For this group I loaded the Bipod; which means I pushed my shoulder into the rifle putting forward pressure on the bipod legs. I pushed with about 10 lbs. of forward force.
These targets were shot on a different day using the MC Werks Bipod.
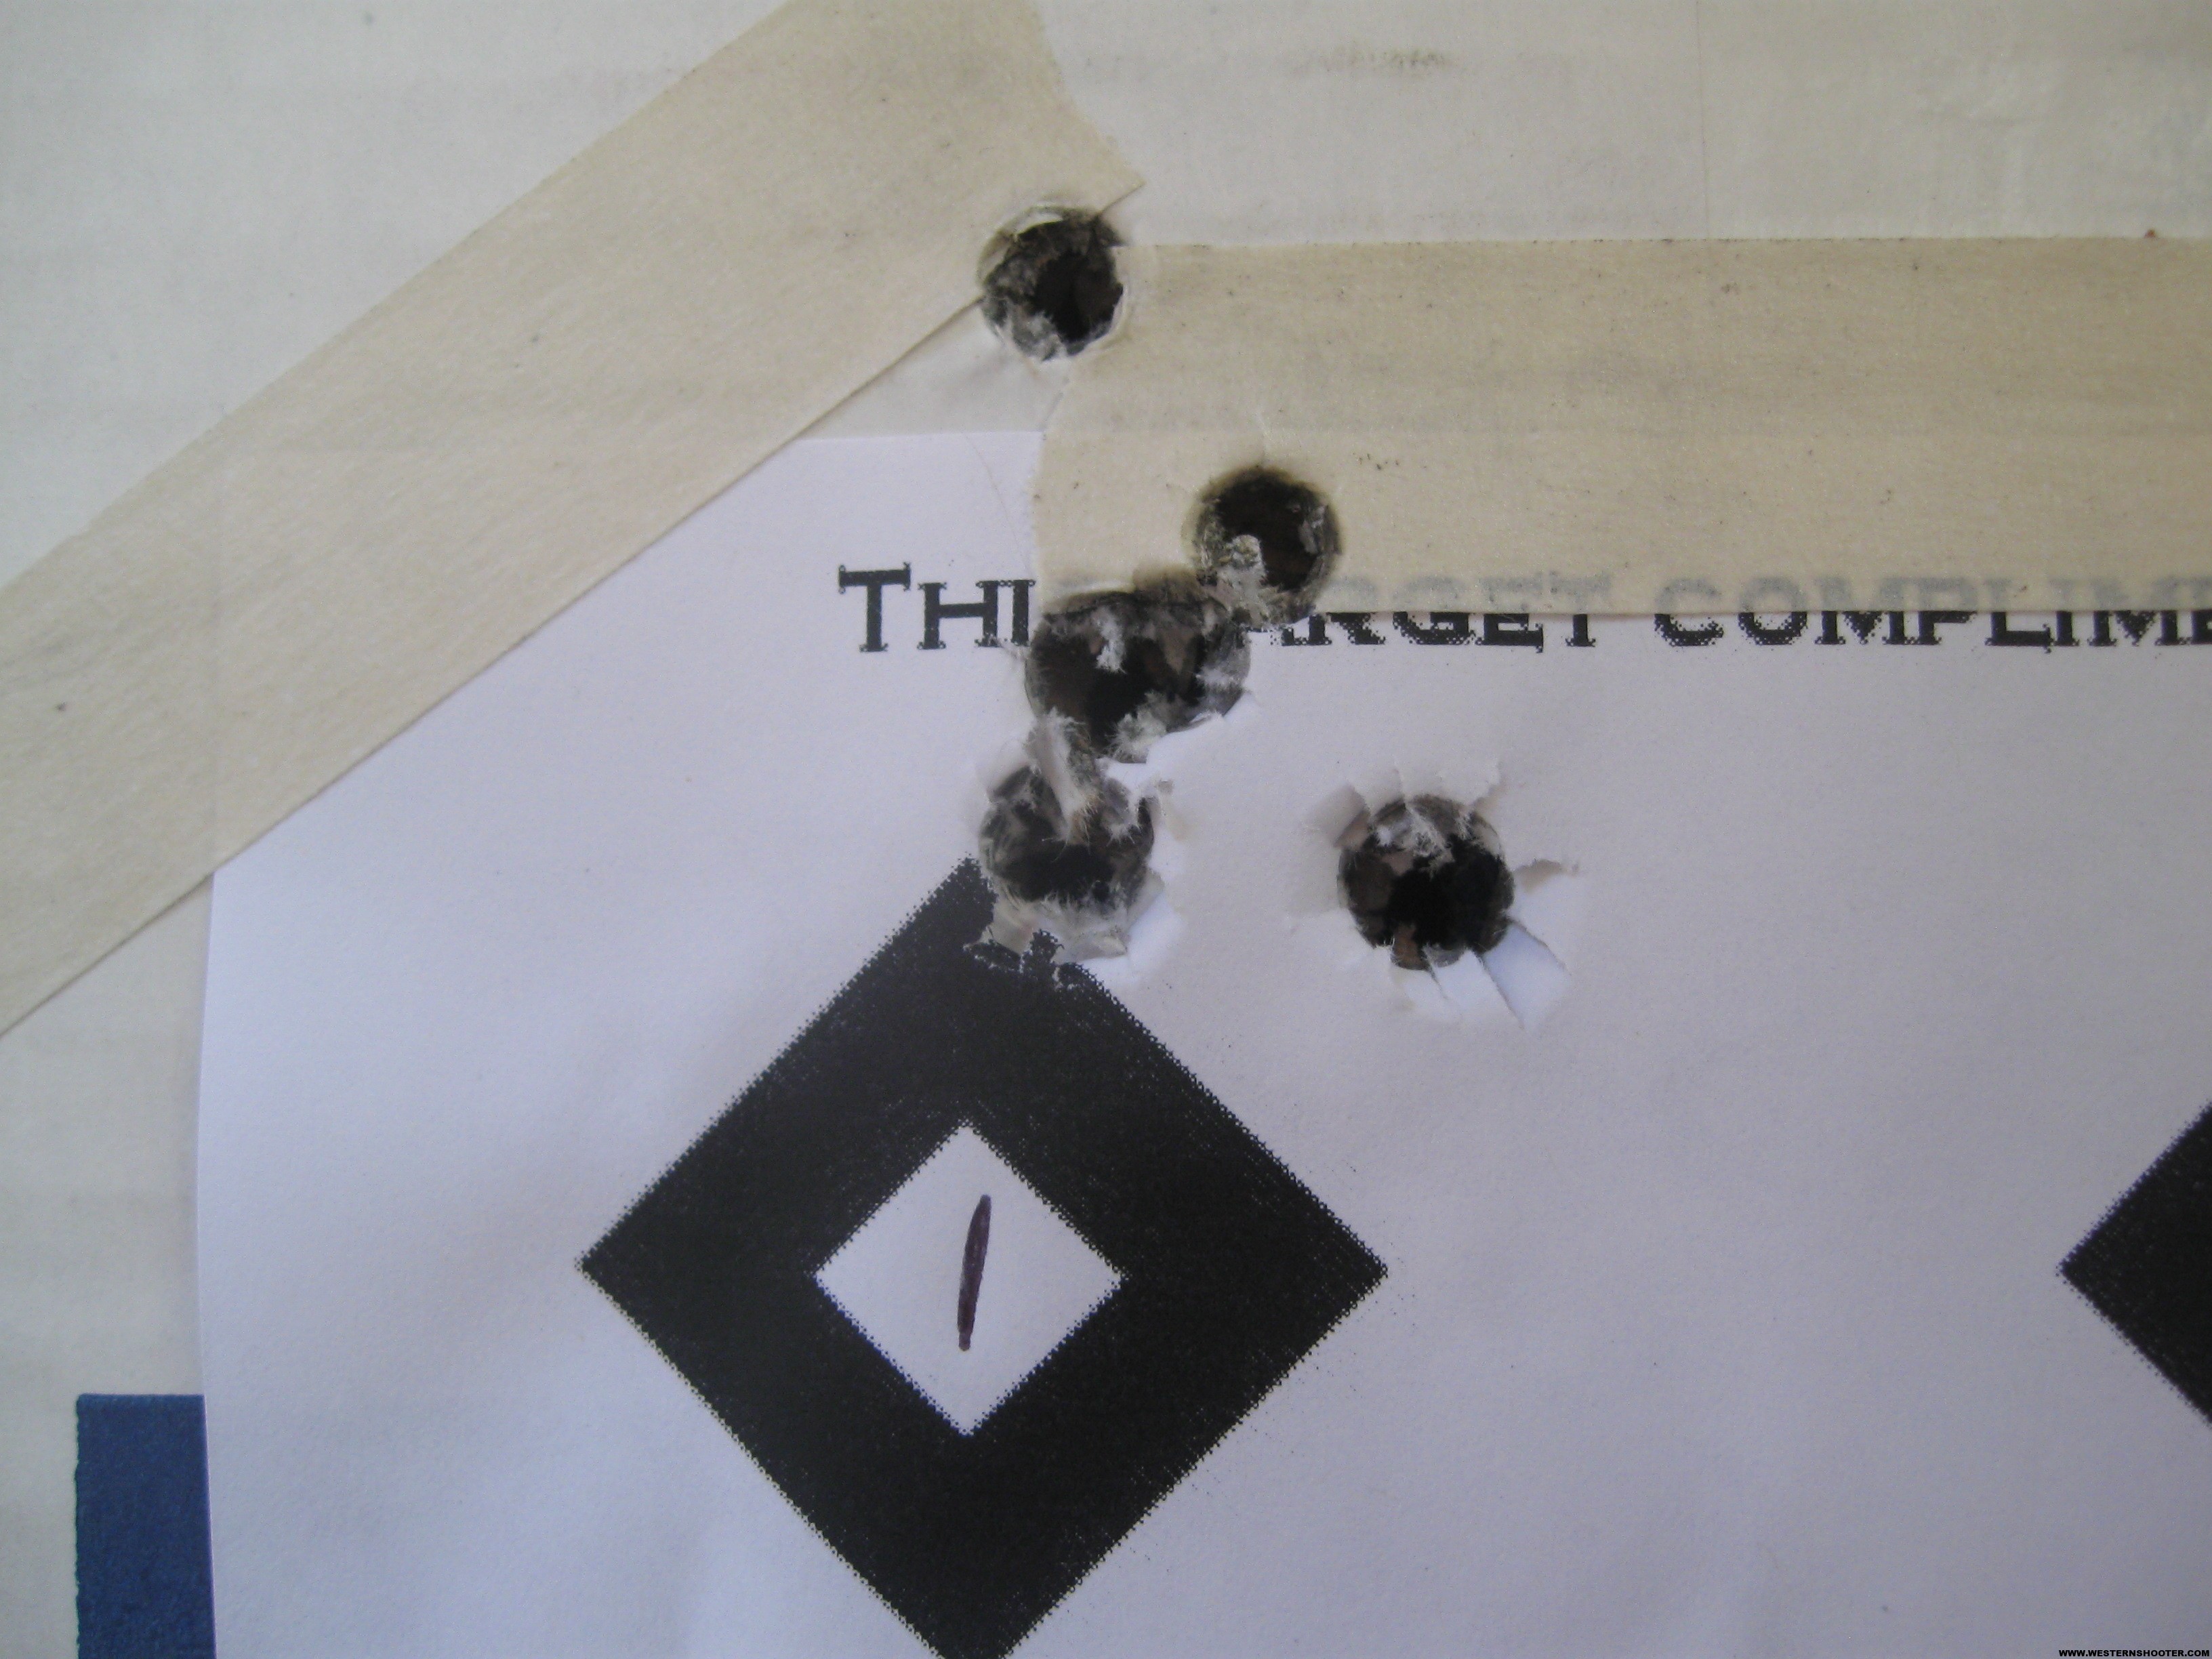
Target 1:
-
Cheek weld: Moderate
-
Pull into shoulder: Moderate
Target 2:
-
Cheek weld: Heavy
-
Pull into shoulder: Heavy
Target 4:
-
Cheek weld: Heavy
-
Pull into shoulder: Heavy
This bipod testing was done over a several week period. During that time I also read an article on vertical stringing that was geared towards bench rest shooting. In the article the author stated that one of the causes of vertical stringing with heavy barrel bench rest rifles is the rifle is to muzzle heavy. He said a cure for this was to trim down the barrel or add weight to the butt stock.
Since my rifle was still about 2 lbs. under weight for F/TR class shooting I decided to add some weight to the butt stock. I removed the butt pad and there was already a hole in the Bell and Carlson stock that I put some lead weights into.
I then shot the rifle again at 300 yards while I was preparing to do some practice at 1000 yards. I shot a 5 shot group at 300 yards that was ¾ of an inch this was with a heavy cheek weld and pulling the butt of the rifle into my shoulder with about 10 lbs. of pull. The key to using a heavy hold on the rifle while shooting off a bipod is consistency. You have to shoot enough to develop enough muscle memory to do the same thing every time.
After doing this testing I have since used a heavy hold and cheek weld. I have used this technique in competition and have won a NRA regional long range match using it. The key is consistency. I recommend firing at least 20 rounds a week; especially during match season, to develop the right muscle memory and keep the technique honed. If you don’t have time to practice I would recommend using a light cheek weld and no pull into your shoulder. Even though this will cause more vertical stringing your point of impact will stay more consistent.
Excellent shooting and write ups! Thanks for taking the time to do all the testing. Please email me, I have a Savage ftr as well and have questions about your b&c stock.
God bless,
Jarrod
I also have been trying different holds. Shooting from a bench with bi pod using a heavy hold worked best for me also. found your post a good read. My Rifle is a Remington 700 LTR 308 Cal. Changed the trigger to a Jewell 10 oz. ( only benchrest sooting ) Changed the stock from the HS percision LTR stock to the full size 700P HS stock. Versa Pod bi pod. Everything else is Rem. when the barrel has to be replaced, I will true up the action and get a custom brl. Keep up the good work , Be Safe Chris
I have a Savage 12 f/tr and have done the same testing. Mine is chambered in .223 and I have gotten the same results. I use small rabbits in the back and Sinclair gen 3 upfront. Love the gen3. Factory barrel, no bed work yet. I’m pretty new to shooting,1yr. My best grouping was 2 days ago. A 10 shot group of 1.280″ 23.3gr RL5 Berger 80gr VLD .120 off the lands. Yes that’s right. Start touching and go back in .040 increments to .120 off. Gottenoff the Berger site.
Sorry that was RL15